Harvesting Maple Syrup

Harvesting maple syrup is the centuries-old practice of foraging sweetness from maple trees by collecting the sap and turning it into delicious maple syrup. Whether from a big old maple tree in your back yard or from maples in a wild deciduous forest on a nearby hillside, it isn't difficult to make your own maple syrup. It's delicious and healthy, and the process is satisfying. Let's do it!
Among the diversity of the northern hardwood forest lives the wonderful sugar maples trees. In the fall these trees are so beautiful, splashing the hillsides with their vivid brilliance of reds, oranges and golds before shedding their leaves for winter. In the springtime they flow with sweet sap before new leaves pop out. Maple trees are a blessing in many ways. They provide us with strong beautifully grained wood for building and their hardwood is burned for heat. These are the trees that we forage sap from for harvesting maple syrup.
Where in the World Does Pure Maple Syrup Come From?
Though maple trees grow in many places around the world, the beautiful deciduous forest of eastern North America is home to sugar maple trees.

Canada produces over 70% of the world's pure maple syrup. Around 90% of that comes from the province of Quebec where approximately 7,989,000 gallons are produced annually. Ontario, and several Canadian Maritime provinces, as well as some States in America also harvest maple syrup.2
Although maple trees grow in Europe, Japan, and other places, they don't have the ideal weather conditions that are needed to produce the necessary amounts of sap to make syrup.
Sugar Maple Tree Identification
Sugar Maple Tree Identification
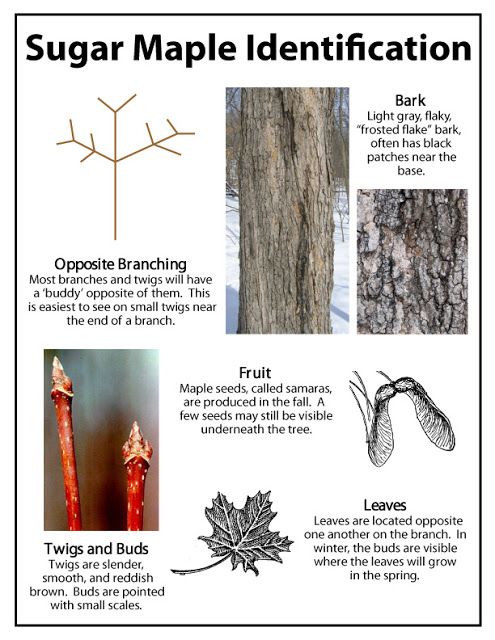
The first step is to identify sugar maple trees. Sugar maple tree identification is not difficult because of the tree's unique characteristics. The leaves, the bark, and seeds all help in identifying these maple trees.
Sugar maples have large, pointy leaves that are veined, with 5 lobes and distinct "U"s between each lobe. They change from bright green in the spring to a deeper green in summer, then brilliant shades red, orange and gold in autumn.
Sugar maple tree leaves, as well as their twigs and branches, have a 'buddy' directly opposite them instead of being in a staggered pattern (see diagram).
Sugar maples have winged seeds or samaras, which form in pairs of 2 seeds fused together, with wings hanging parallel to each other. When they detach and fall from the tree, they tend to twirl as they descend.
Sugar maple tree bark identification can be a bit more challenging. The sugar maple tree bark can be rather smooth when the tree is younger and can get more rough and shaggy as it ages. Its bark turns a darker brown color as the tree matures and often will have wide indentations in the bark separated by narrow grooves between the plates running up and down the trunk.
It can take around 40 years before a maple tree reaches the size where it can be safely tapped.
Other trees that can be tapped
Can I Only Harvest Maple Syrup from Sugar Maple Trees?
Some have asked exactly what trees make maple syrup? While we're focusing on sugar maple trees, it's also important to note that while the highest concentration of sugar is found in the sap of the sugar maple, maple syrup can be made from just about any species of maple tree.
There are more than a hundred different species of maple trees worldwide, among them are sugar, black, red and silver maples. The maple syrup to sap ratio for sugar maples is 40 gallons of sap making 1 gallon of pure maple syrup. But this will vary between types of maple and the taste of the syrup may be slightly different as well.
The other maple trees are not generally used in commercially harvesting maple syrup because the sugar content is a bit lower. The specific climate in which a maple tree grows is one of the biggest factors in producing adequate sap for harvesting maple syrup.
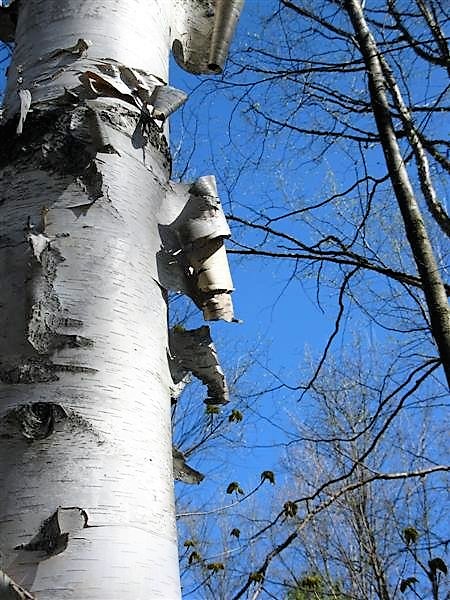
There are also several other species of trees from which you can harvest sap and make syrup. So, if you don't have any maples but would still like to learn how to tap a tree, don't give up! Birch, alder, hickory, butternut, ironwood, sycamore, and various nut trees can be tapped to make syrup.
In Alaska, for example, where maple trees don't grow, they have a thriving Birch sap industry. You can learn more about tapping various species of trees here.
The Centuries-Old Practice of Harvesting Maple Syrup
The history of harvesting maple syrup goes back centuries. We don't know when the native American Indians first discovered the sweet treasure hidden in the maple trees. But the first recorded accounts of maple sap, syrup and sugar being enjoyed were written by André Thevet, who documented Jacques Cartier’s voyages, in 1557. We can thank the Indians for sharing these sweet secrets with the European settlers who passed them down to us.
So, How Do You Go About Harvesting Maple Syrup?
First, Prepare the Tools for Tapping Maple Trees
We just need a few simple tools for tapping maple trees. Before the maple season begins, be sure that your maple tree tapping supplies are clean and ready to use.
Here's a list of tools for tapping maple trees that you'll need:
- A drill, either a hand drill or a battery powered
- Drill bit - sharp and clean, 3/8" or 7/16", depending on spile size.
- Spiles with hooks for hanging buckets
- Lidded buckets or food grade containers
- A large food grade container for collecting the sap from the buckets
- A large strainer for filtering sap
- A large pan for boiling the sap
- Flour sack cotton tea towels or filter designed for harvesting maple syrup
- A candy or cooking thermometer that's easy to read
- Slotted spoons and ladle
- Oven mitts
- Canning jars and lids or other containers to store the finished syrup in
If you don't have these tools, they can be bought at local farm supply stores or ordered online. And don't forget your camera for capturing your adventure of harvesting maple syrup!
Weather Is a Crucial Factor in Harvesting Maple syrup
Harvesting maple syrup is an enjoyable, yet rather persnickety process. Harvesting maple syrup of any quantity requires specific climate conditions and temperatures for ideal sap flow, ensuring that it is plentiful, sweet and clear. It's important to be aware of the weather because it is a crucial factor for a good maple syrup harvest.
Larger maple syrup producers have changed some of their techniques along the way, making it more efficient to harvest maple syrup in large quantities to meet the demand. But we'll be focusing on harvesting maple syrup the traditional way as has been done over the centuries.
When to collect maple sap? Well, tap your maple trees at the very first signs that spring is just around the corner.
Locations vary on the exact timing. But when we notice a bit more warmth in the sunrays, the days are getting longer, and just before the blackbirds begin to sing and the geese start to head north, that is when to tap maple trees. Toward the end of February or beginning of March we start tapping our trees.
There is often still plenty of snow on the ground, which insulates the root systems of the maple trees from warming up too quickly.
The night temperatures are below freezing in the 20s°F, or few degrees below 0°C, and daytime temperatures rise up around 40°F, or 4.44°C. This is when the maple sap begins to flow.
This window of time seems to pass quickly, and the longer these conditions last, the better it is for harvesting the maple sap. But when temperatures begin to rise too quickly, the night temps no longer dip below freezing, and the buds begin to swell on the trees, the season of harvesting maple syrup comes to an end. The sap changes. It can become cloudy and bitter and is no longer useable for making maple syrup.
Let's Put on Our Snowshoes and Head to the Sugar Bush
Since some have asked how to make maple syrup, we'll explain this laborious, but wonderfully rewarding process.
We'll begin by taking you out to the sugar bush, the forest in which the maple trees grow where we'll show you step by step how we harvest maple syrup.
Often there is still a significant amount of snow on the ground which requires us to use snowshoes. An abundance of snow actually helps with the production of the sap, but it can also add to the adventure of harvesting maple syrup. It might take a bit of practice to do the job in snowshoes.
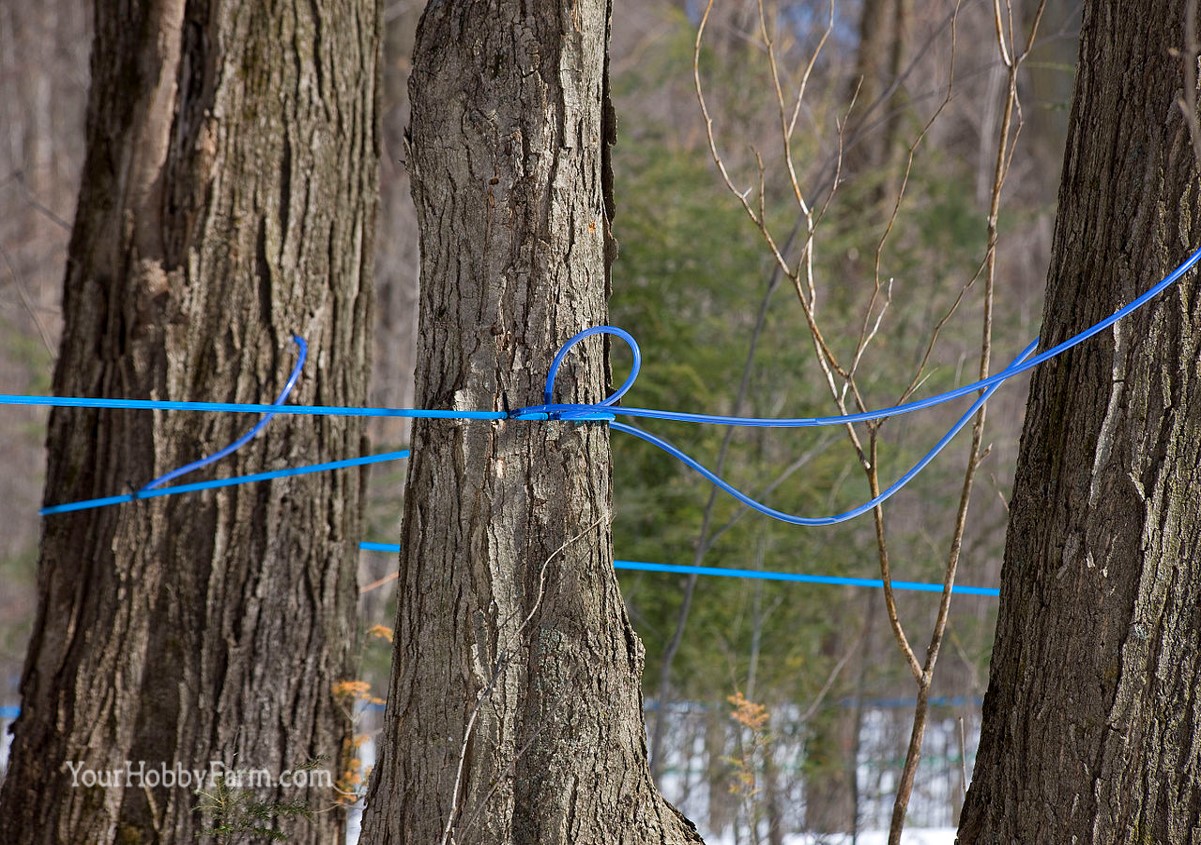
And unless you're just tapping a tree or two, you may need a tractor, a 4-wheeler, or horse to help pull a larger container as you go from tree to tree emptying the buckets of sap.
How to Tap a Tree
The first step in harvesting maple syrup is tapping trees for maple sap. So, let's learn how to tap a tree properly. The sap is the vital fluid of a tree, filled with nutrients and minerals, carrying energy out into the branches and developing buds. It's important that we don't damage the trees while tapping them.
There are varying opinions regarding the maple tree diameter to tap. But for the welfare of the tree, these are our guidelines: A tree of 12-20″ in diameter can be tapped with one spile and bucket. A tree of 21-27″ wide can fitted with 2, and a tree of 27″ or more inches in diameter can have 3 taps on it.
And where to tap maple trees is also important. Trees facing the warm afternoon sun tend to produce sap sooner than trees living deeper into the forest. It's best to collect the sap from the south side of the tree where it has the most exposure to the sun.
Also, it's best if your spile is placed above a large root or below a large branch. The hole for your spile should be made at a convenient height, about 3 to 4 feet above the ground. Make sure that you don't reuse a tap hole.
If the tree has been tapped in previous seasons, don't place a spile within 6 inches of the former tap hole. Also, you want to stay at least 6 inches from old branch scars. The goal is to tap only where the tree is sound and healthy.
With the drill slightly pointing upward, make a 2-inch hole into the tree. It's helpful to measure and mark your bit with a line at 2 inches ahead of time. For the tree's welfare, it's important not to drill too deep into the heartwood of the tree.
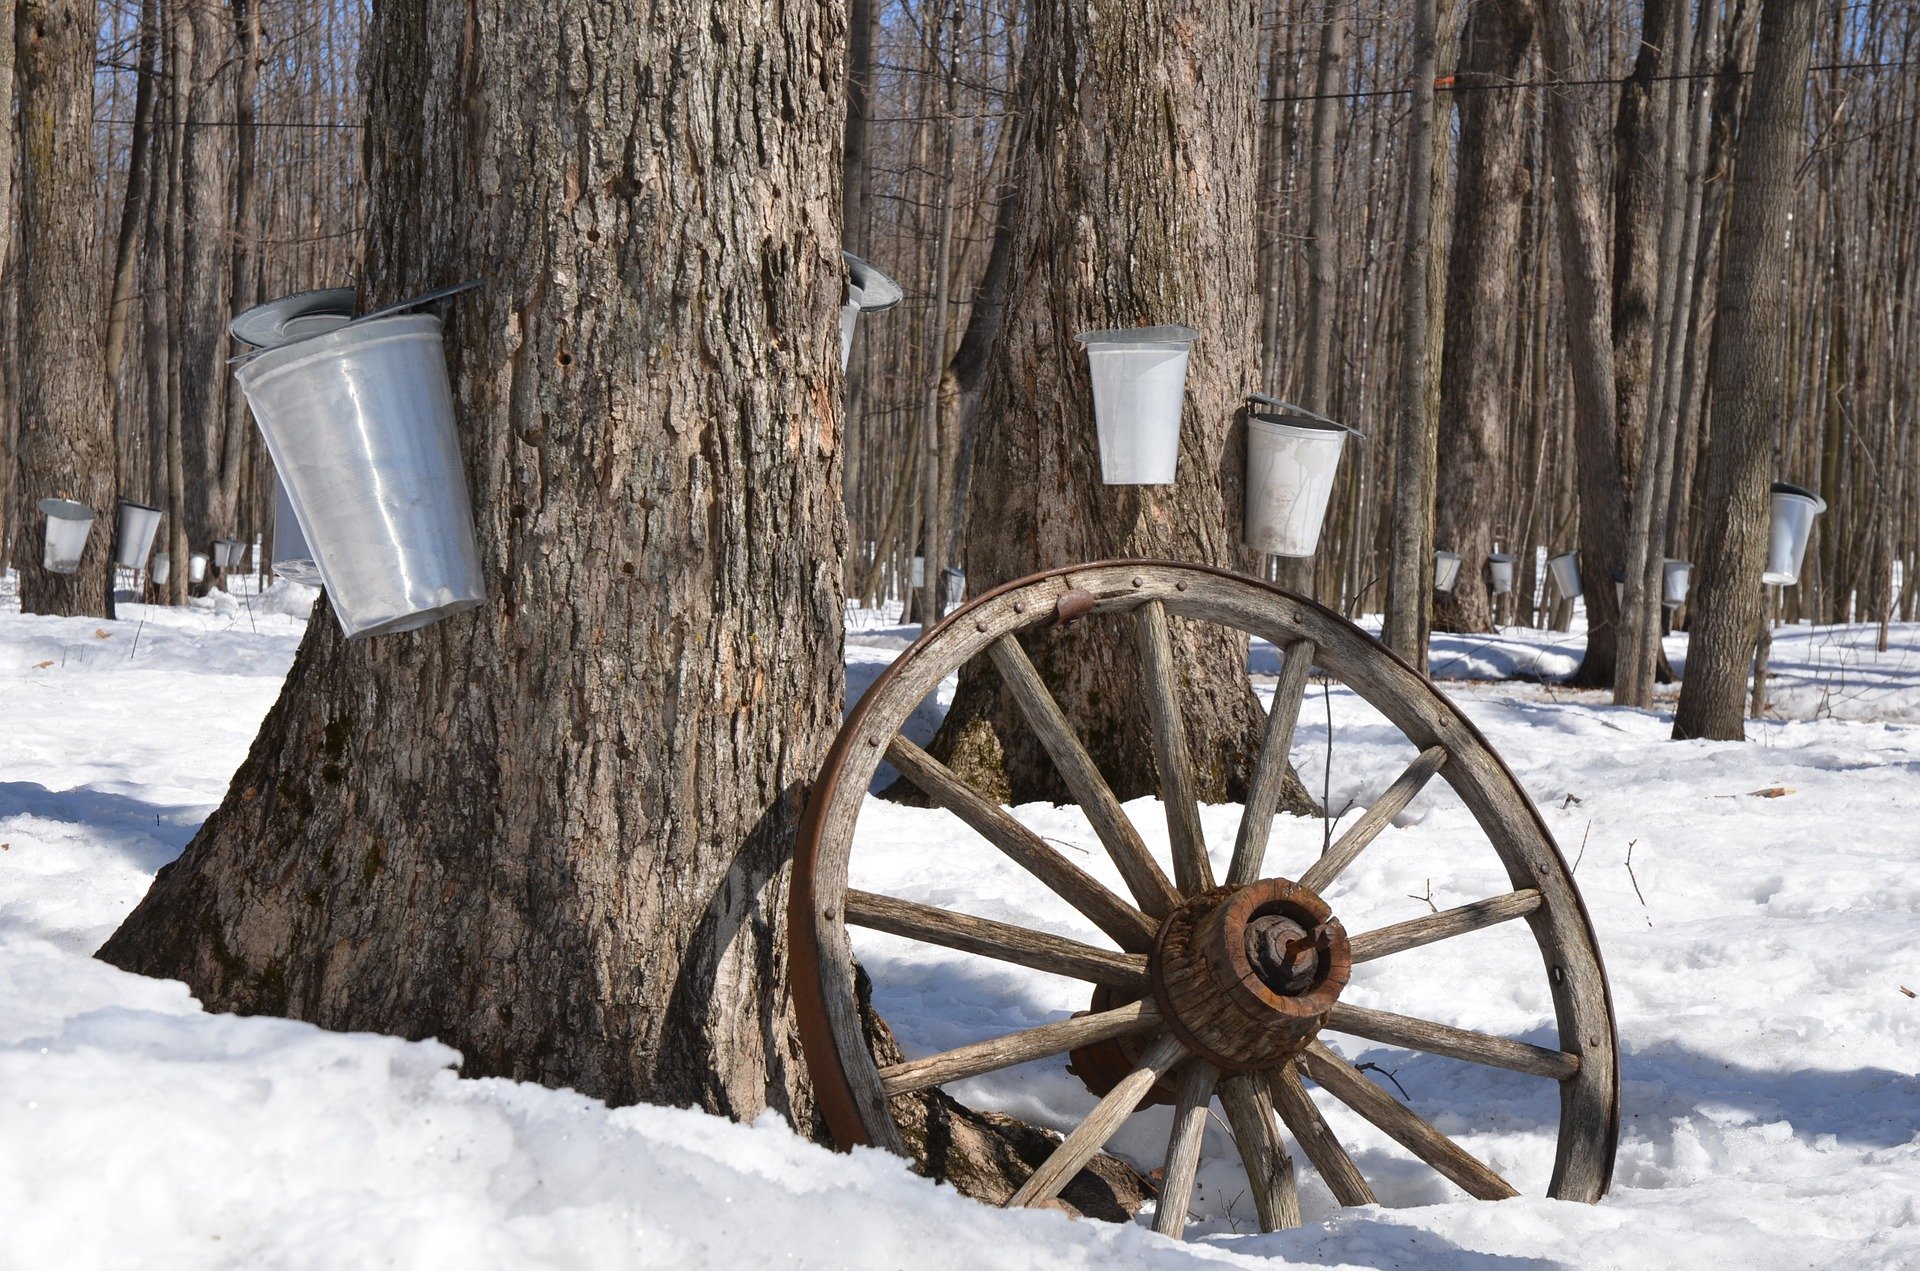
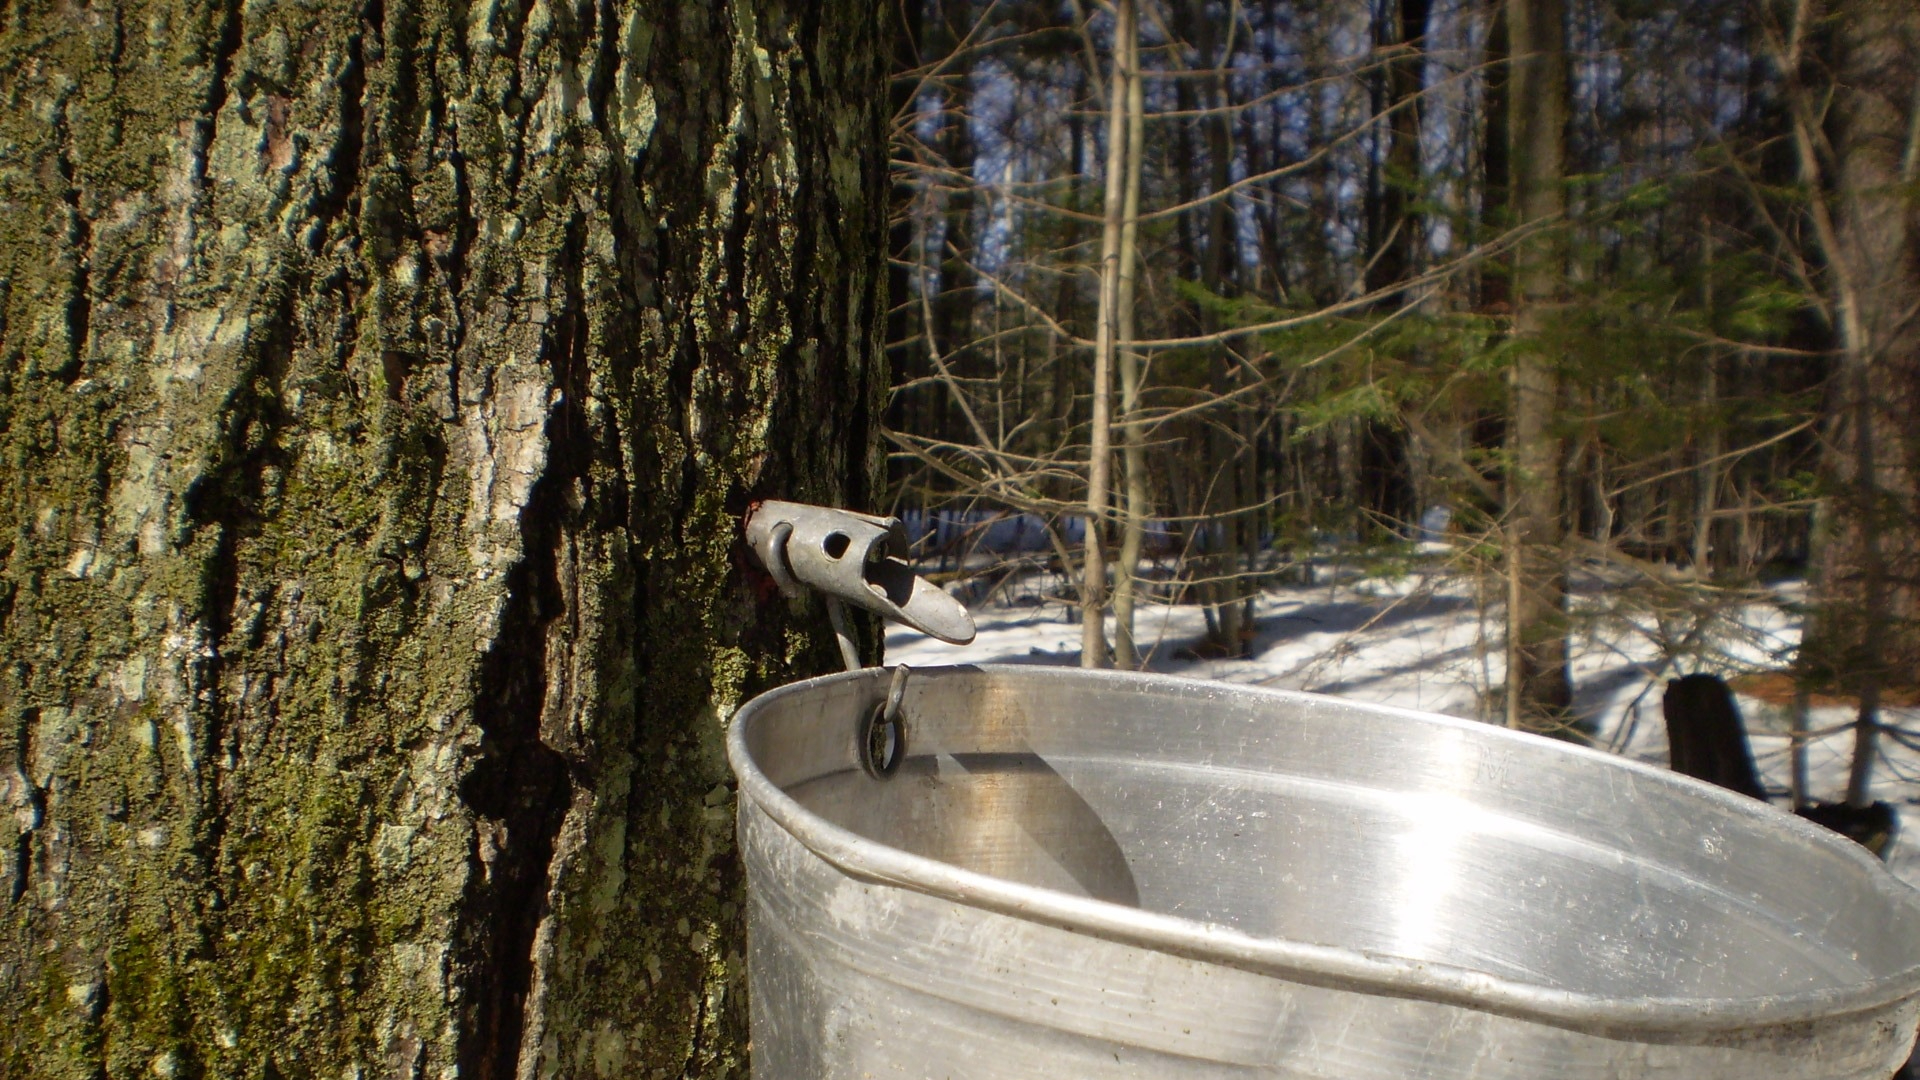
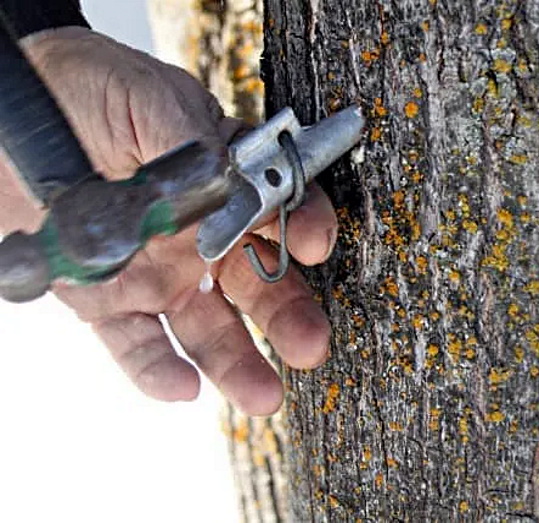
After drilling your tap hole, place the spile into the hole with the hook facing outward and tap it gently in with your hammer if needed. Hang the bucket on the spile hook and secure the lid to keep foreign objects from contaminating the contents of the bucket. The sap flows through the spile, or tap, into the bucket.
If you don't have a bucket, you can also collect the maple sap in an empty milk jug or large bucket. It's very important to make sure that whatever type of container you use to collect the sap, that it is a food grade container and very clean.
Tapping trees for maple sap does not damage the tree if done properly. But it's important not to over tap a tree. Remember that the diameter of the tree determines how many buckets. It's also very important to remove the spout at the end of the season so that your tree can begin to seal the opening.
Collecting Sap from Maple Trees
Depending on the weather conditions and temperature, collecting sap from maple trees starts as soon as you've drilled your tap holes, inserted your spiles and installed your buckets. Almost immediately after setting up your buckets, you'll begin to hear the drips of maple sap as they flow through the spile and hit the bottom of your container.
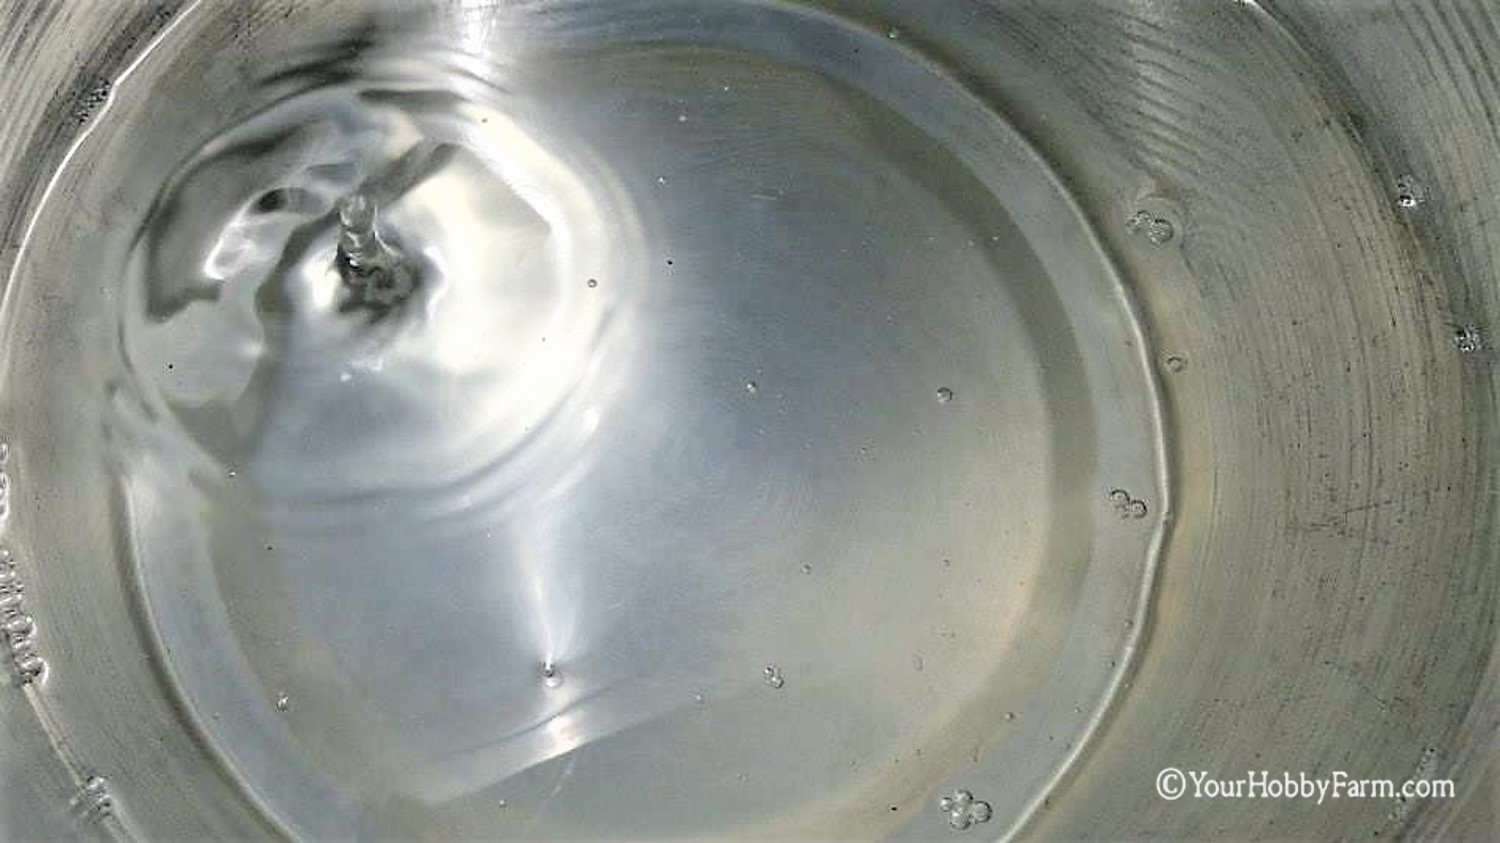
Maple sap is a clear fluid and resembles water. The collection amount may vary, depending on the weather which affects the sap flow. When sap is flowing, you'll need to collect it daily. Some days you will collect just a small amount. Other days you may have to check your buckets a couple times to make sure they don't overflow.
If you're tapping several trees, having a tractor or 4-wheeler that pulls a larger storage container can help a lot! This way, as you pour the sap from the bucket or collecting container, you don't have to carry the weight of it all.
When pouring the sap into the larger container, it good to have a strainer on hand to filter out any debris that may have fallen into the bucket. The organic materials that may fall in do not make the sap unusable. It will be boiled for quite a while which will take care of that. If some of the sap has frozen, it probably doesn't have much sugar content, and you can just toss the frozen sap.
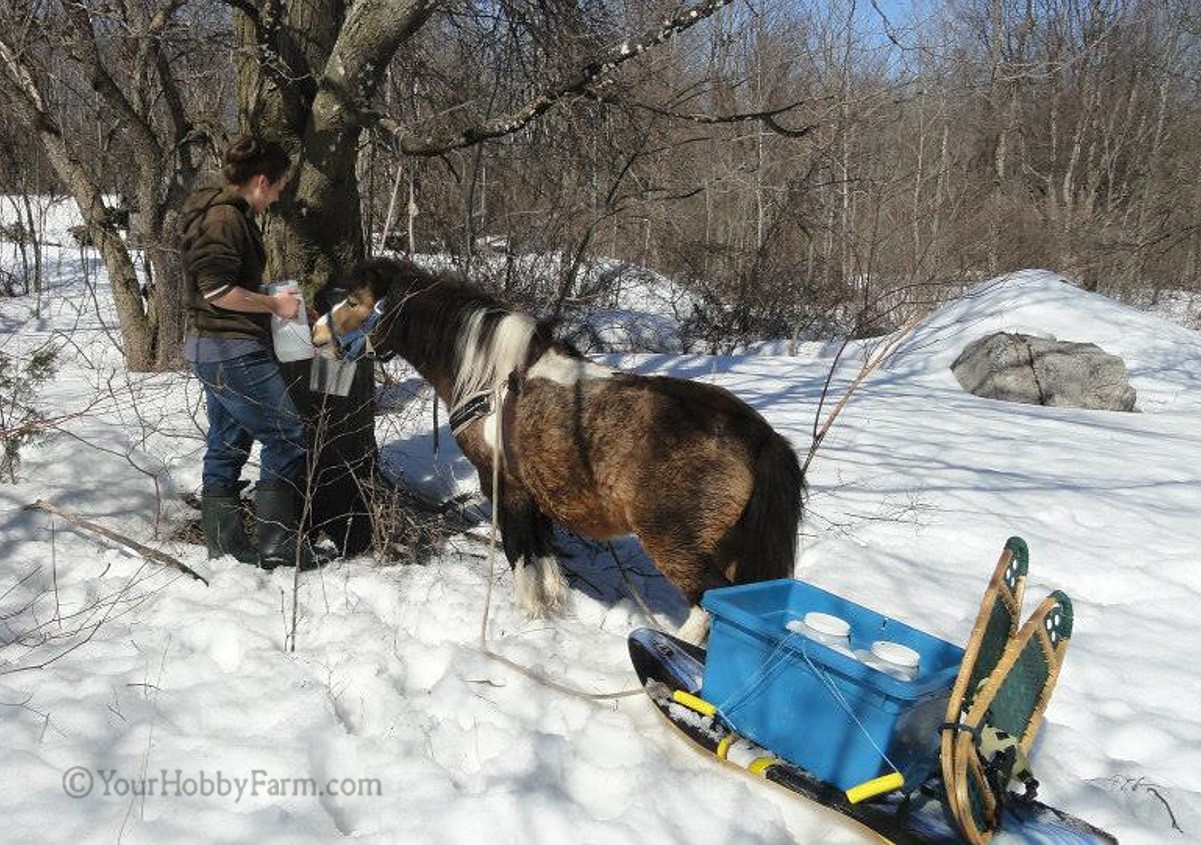
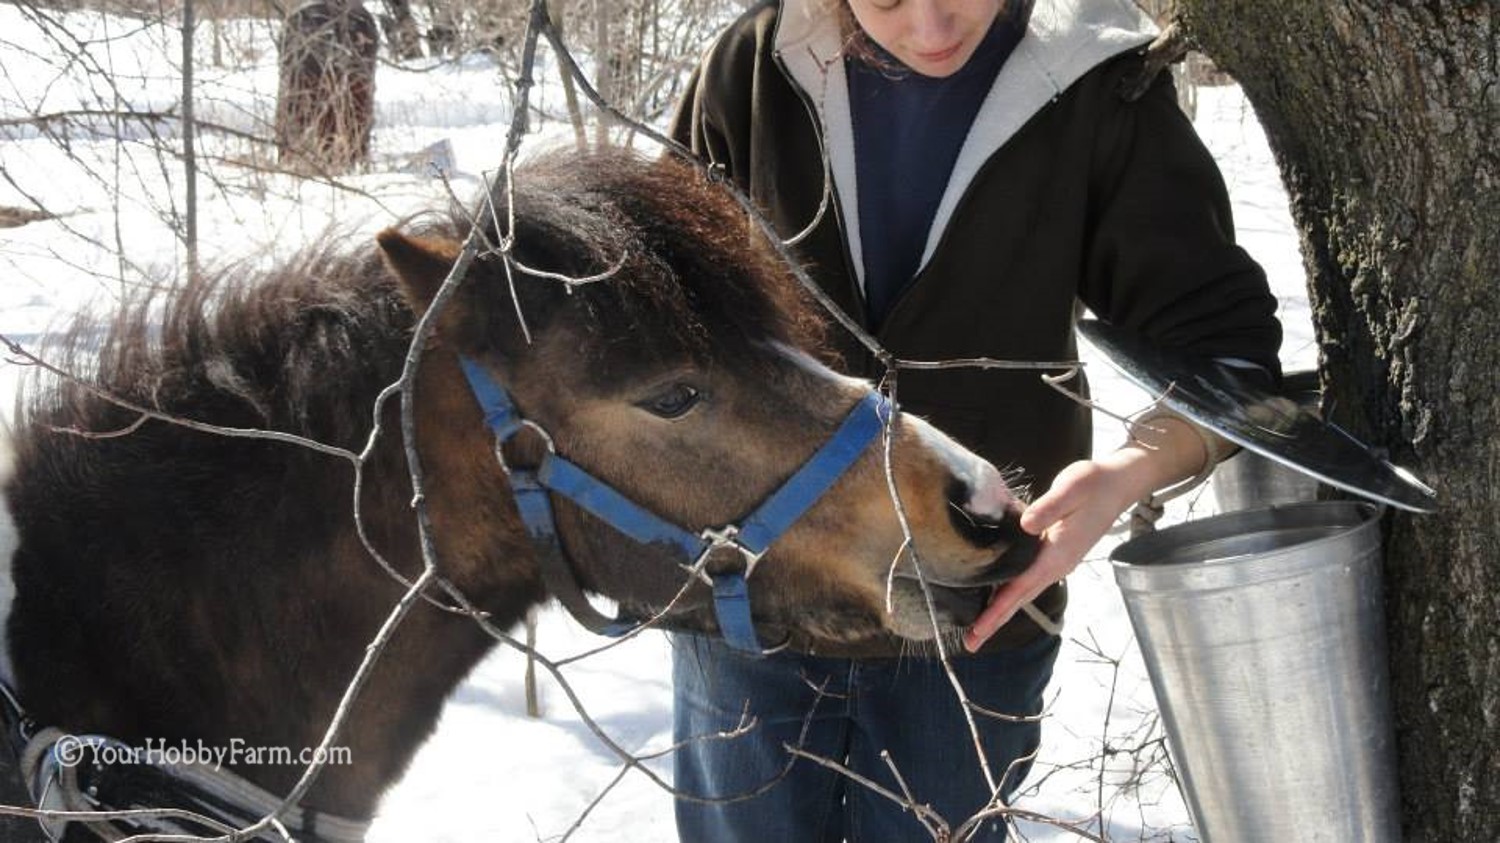
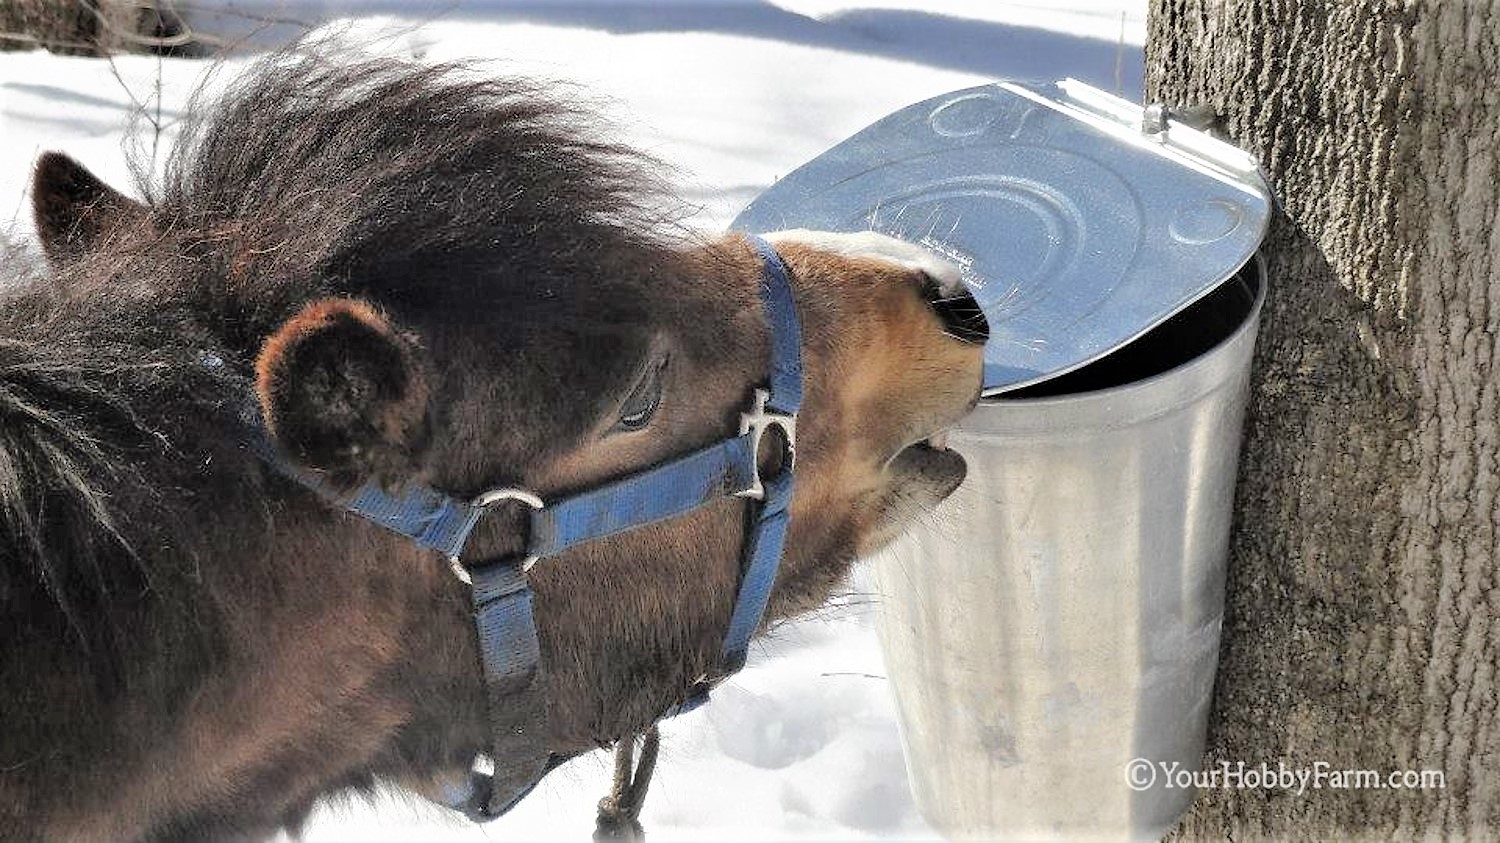
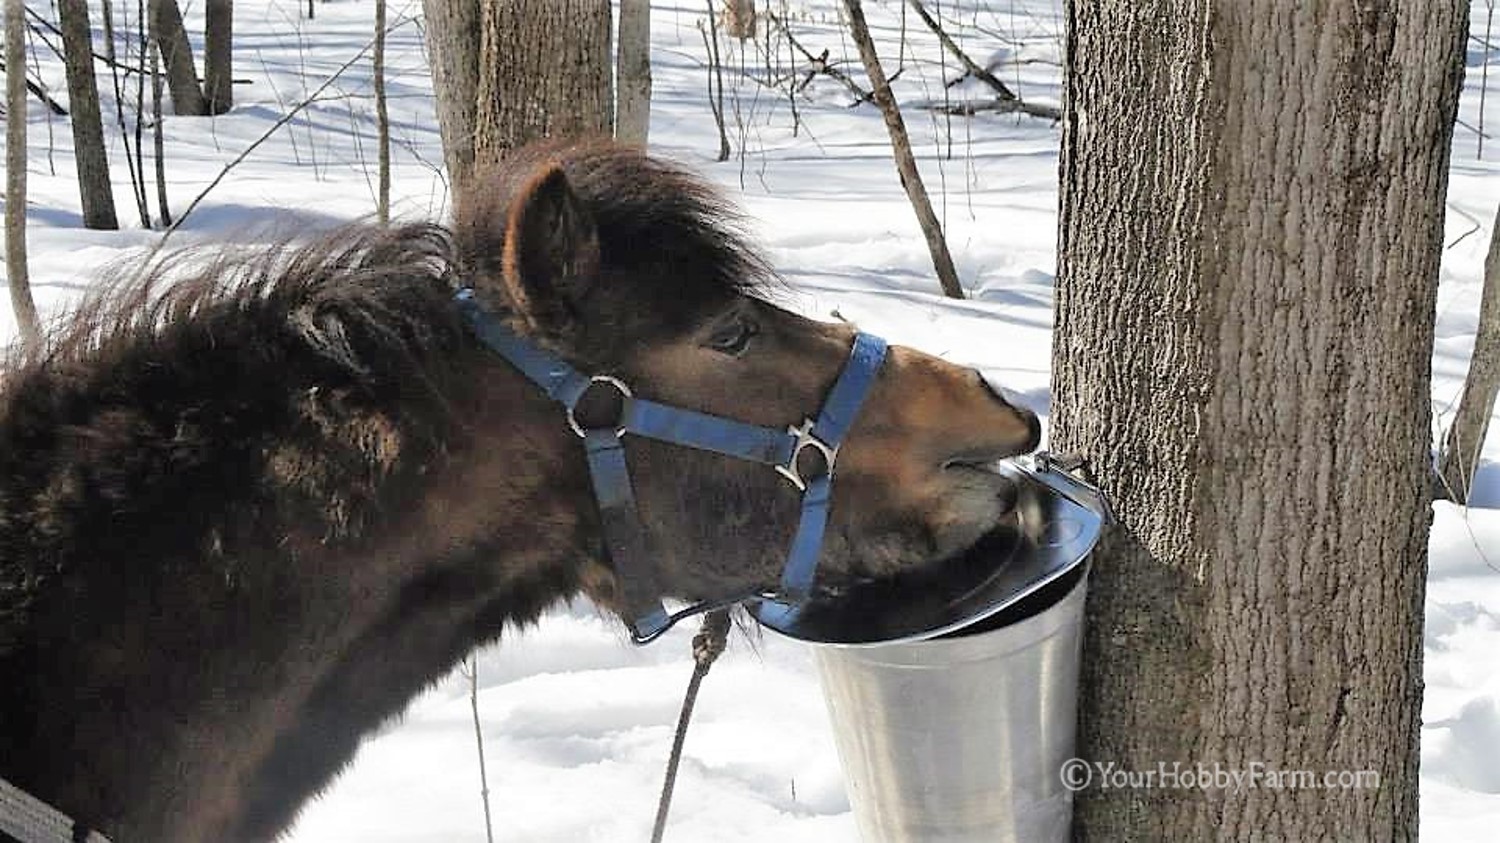
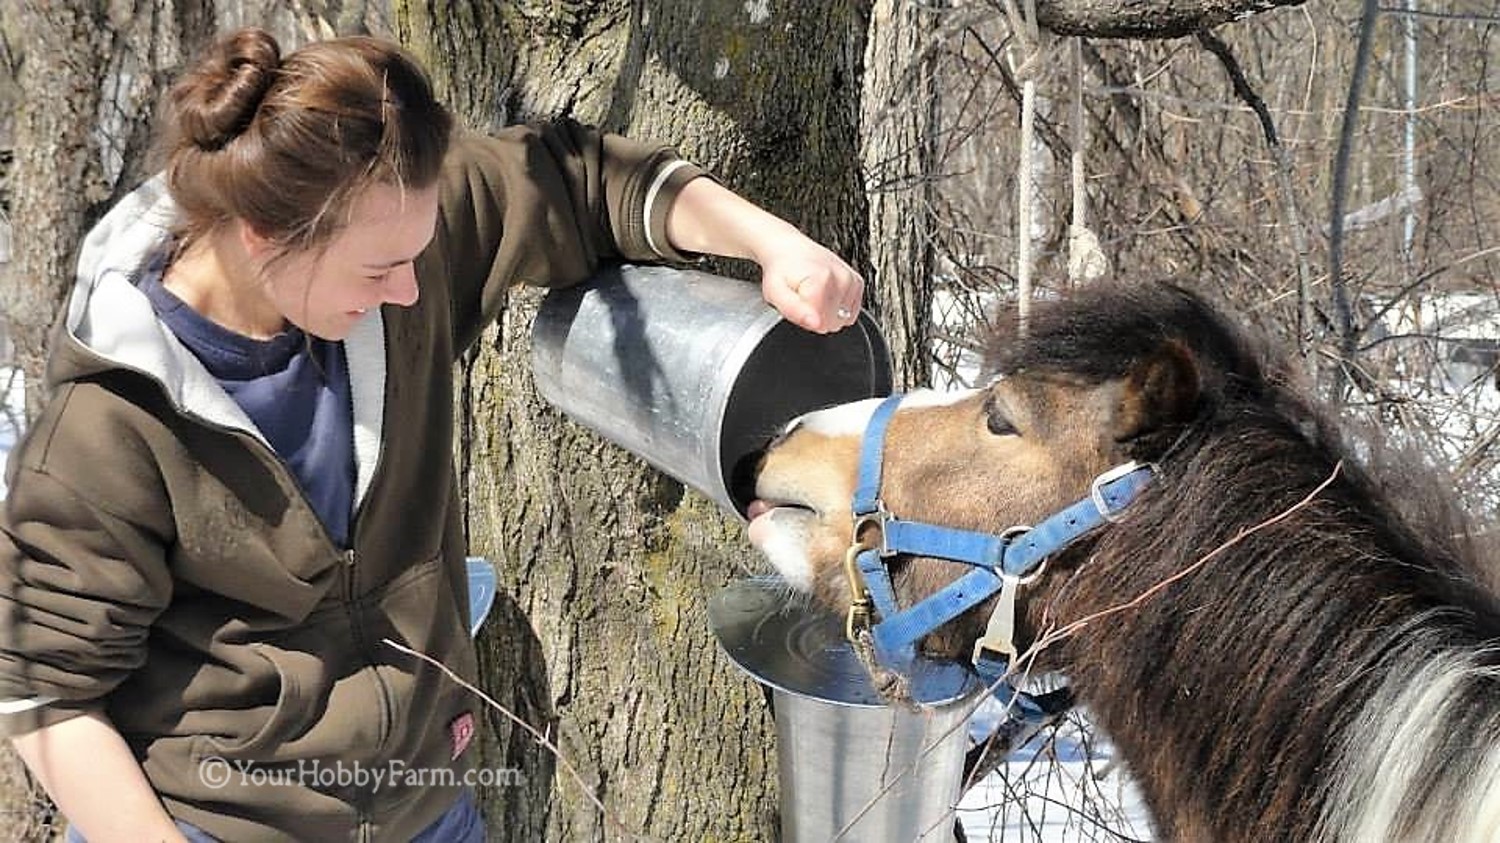
One year as we were harvesting maple syrup, there was a lot of snow. We ended up getting two tractors and a 4-wheeler stuck in the snow. So, we recruited our little miniature stallion, Prince, to help with collecting the sap. He did a wonderful job! He was our little horse hero, and he really got into the process with us! He especially enjoyed getting the last drop from the buckets after we emptied them. As the Bible says, "The worker is worthy of his hire", and Prince certainly was! Without him, we couldn't have done it!
Prince, our little miniature stallion and willing assistant in harvesting maple syrup.
After collecting sap from maple trees, it's good to start boiling sap immediately if possible. But if storing maple sap before boiling, the sap should be stored at a temp no warmer than 38 °F (3.33 °C) and used or boiled within just a few days. Sap gets cloudy and can spoil fairly quickly if it's not kept cold. You can store unused sap in the fridge or in the freezer. If you still have snow on the ground, you can store the large containers outside, with snow packed around it, making sure that it's out of direct sunlight.
From Sap to Syrup
The clear, thin sap that flows out of the maple trees is also known as maple water. This sap is approximately 98% water and contains between 1% to 6% sugar. How does this watery sap become syrup? When the syrup is finished, it is only 33% water and 67% sugar. The next step in harvesting maple syrup creates the transformation.
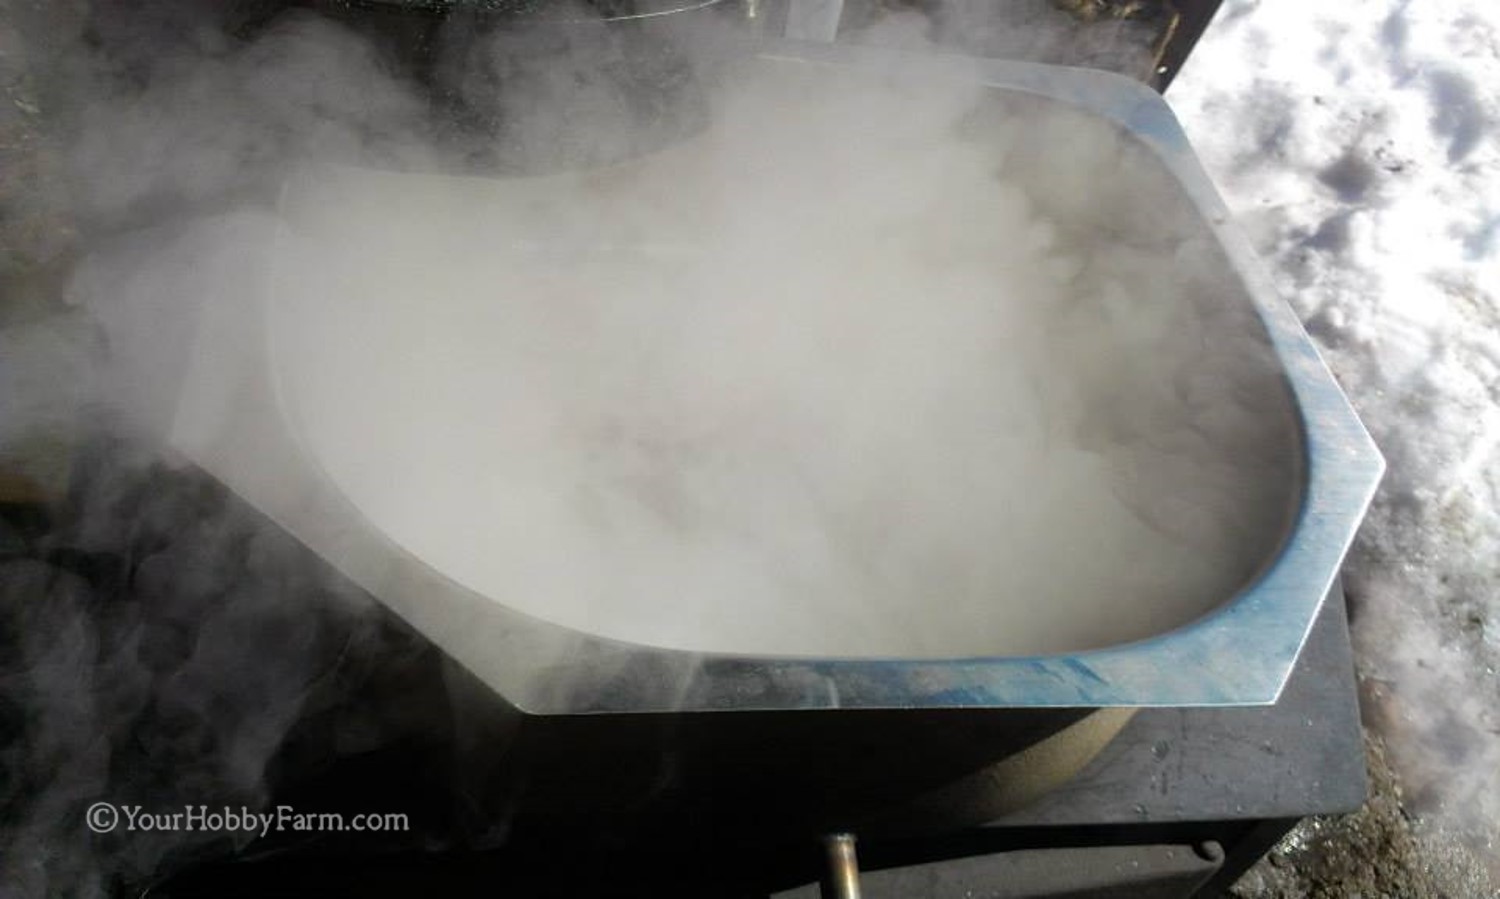
Turning maple sap into syrup requires boiling the sap to evaporate much of the water. This water rises in the form of steam, resulting in a deliciously smooth, syrupy sweetener. Here's how...
The first step is to filter the sap through a fine strainer to remove any debris because bits of organic substances may fall into the buckets during the process collecting the sap from the woods.
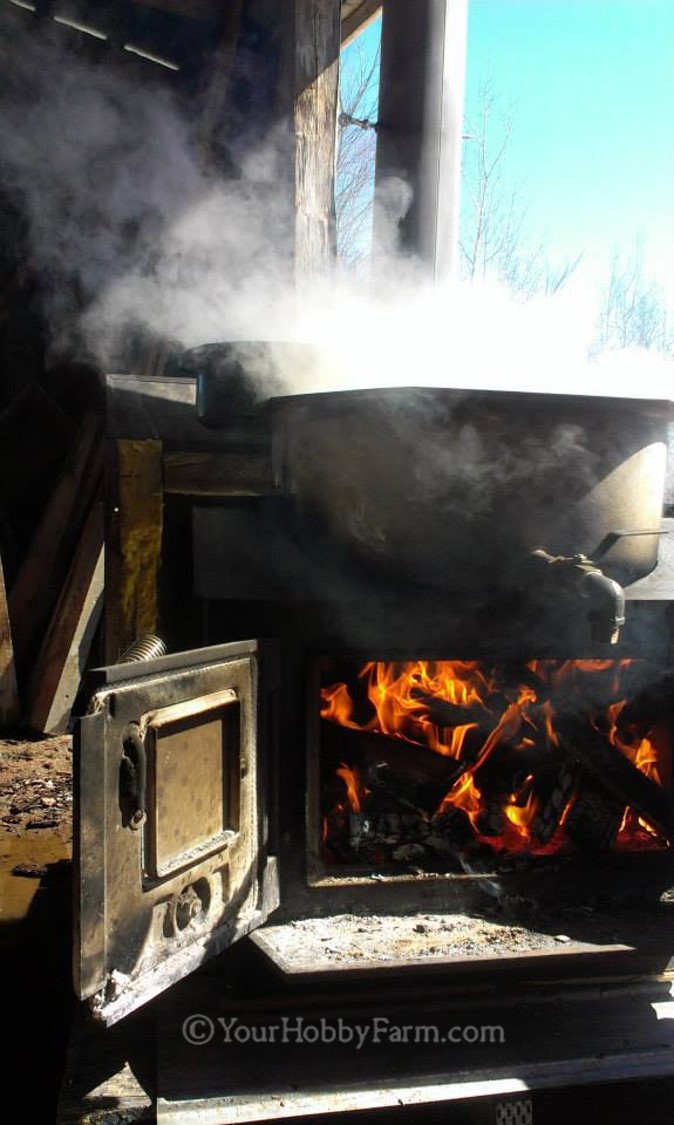
Once the sap has been collected and filtered, we bring it to the fire where we will boil it. This could be done in a big cauldron hanging over a fire pit, on an outdoor stove in an open shed, or in a sugar shack, "cabane à sucre" in French. The process of boiling maple sap into syrup not only condenses the sap through evaporation, it also kills bacteria that may be in the raw sap.
We process the maple sap in an open shed outside. If we were to do all this boiling inside in the kitchen, the sticky steam would make a film on walls and ceiling. We just do the finishing of the maple syrup inside, bringing to the perfect density.
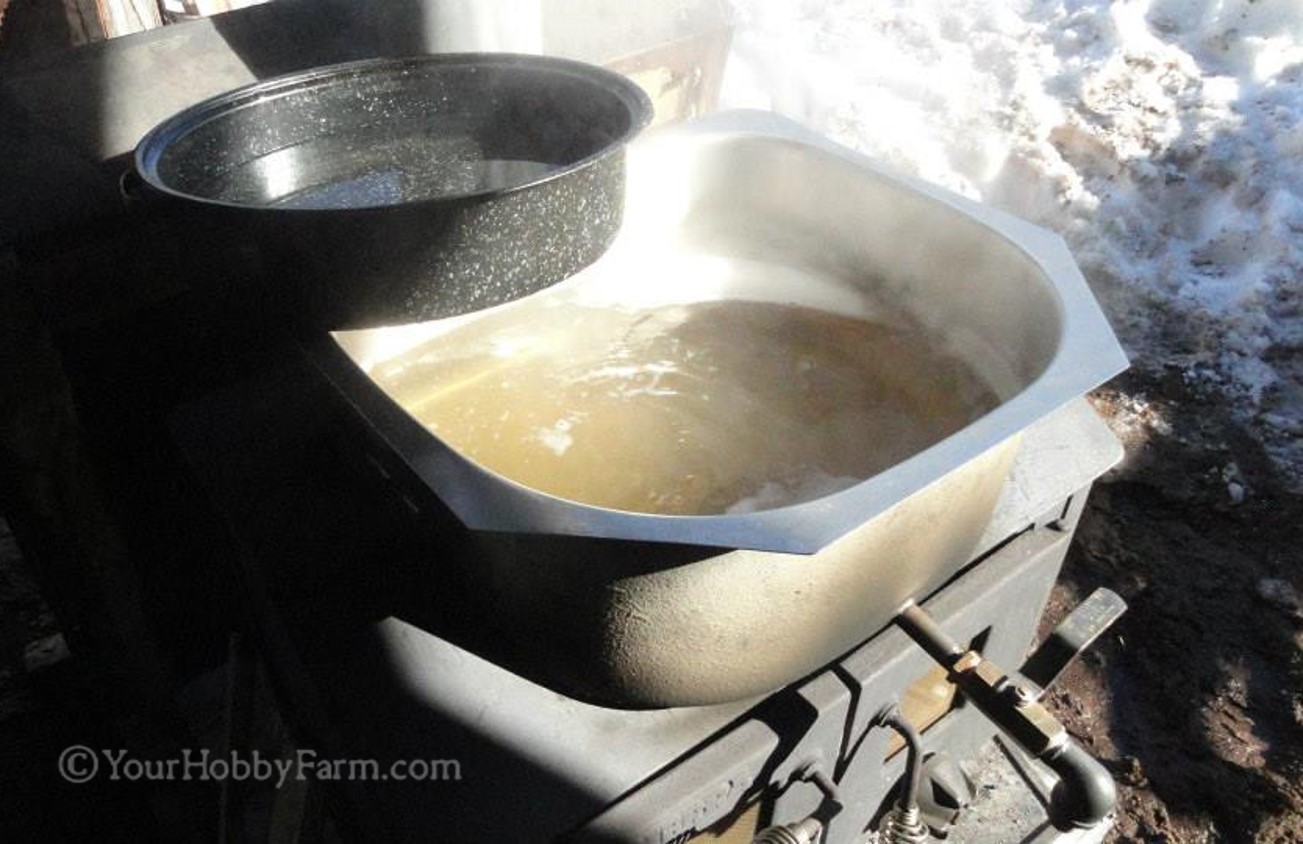
The Farmer here made a boiler out of an old wood stove specifically for the purpose of harvesting maple sap.
He cut the top of the wood stove open and installed a stainless steel sink with a spigot to empty the pan when the syrup is ready. For the amount we make, it works great!
It's best to begin with only a couple of inches of sap in the bottom of the pan or pot to get the sap boiling quickly and evenly.
The amount of sap will decrease as the water evaporates, which allows you to slowly add more sap. The steam rises and fills the air with a sweet fragrance.
Keep a pan near the stove to warm up the next amount of sap waiting to be boiled. If you add too much sap at once or if your sap's too cold, you will interrupt the boil. It's important to keep the heat even and high.
This process of boiling sap into syrup takes many hours and a watchful eye on the progress of the process. Careful, consistent boiling brings the sugars in the sap to the proper concentration.
There are many variables to be aware of such as the amount of sap you're boiling, how often you add sap to it in the boiling pan, controlling your boil, and the heat of your fire... As water evaporates, the sugars caramelize. If not boiled enough, the syrup can later ferment. If it's boiled too much it will crystallize.
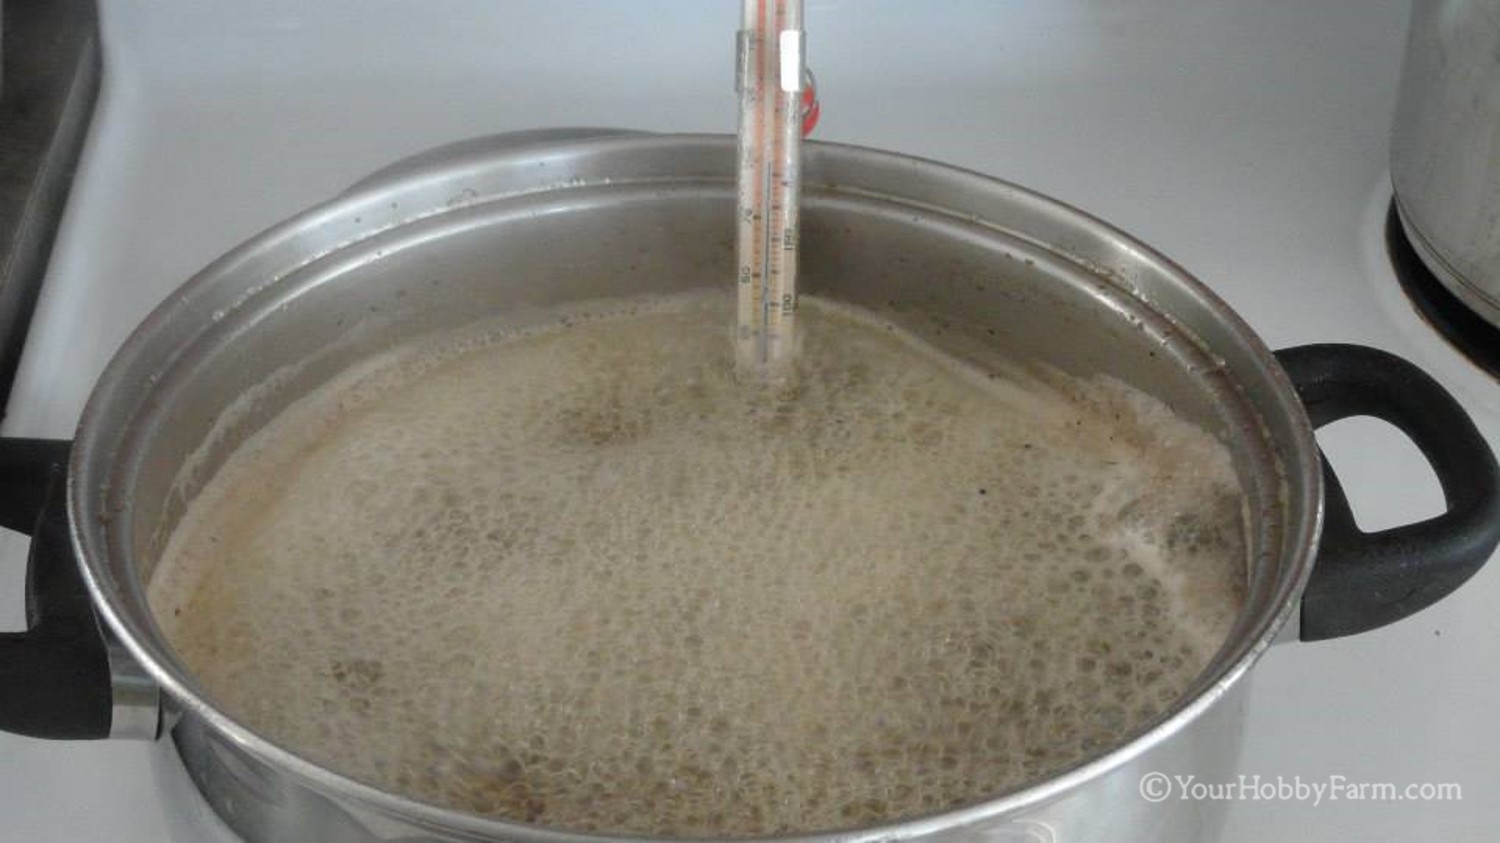
Don't stir as you monitor the sap level, doing your best to maintain a boiling temperature right around 212°F to 218°F. As the sap boils, impurities will foam up to the surface. Every so often we use a strainer or slotted metal spoon to scoop off this foam. This step can continue for hours as you feed the fire keeping the heat consistent, adding more sap, boiling, scooping off the foam...
Keep a close eye on the thermometer while boiling. The fresh sap boils at 212°F. But due to the higher concentration of sugar as it turns to syrup, the boiling point will be higher. We continue boiling the sap, removing the foam, until it reaches a temperature of 215°F.
At this point we pour the syrup from our outdoor boiling pan through a filter again to remove any residue, into a large pot, that we'll use inside.
We're ready to head to the house and finish it in the kitchen.
Put the large pot of filtered sap on the stove and set it to a medium heat to get the sap boiling again. Position your candy thermometer so that the bulb is submerged in the sap, but not touching the bottom of the pot.
Continuing to skim off and discard foam that surfaces, we finish the syrup by bringing it to the boiling point at 219°F. If the foaming becomes too much, a tiny touch of butter will calm it down.
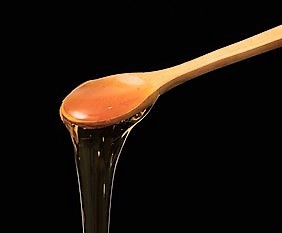
A test to tell when the syrup is done is to dip a wooden spoon into the boiling syrup. When you lift it out, watch how it runs off the spoon. If the syrup "aprons" or runs off in a wide sheet, you know it’s about done.
At this point you will need to strain it once again. It's important to use a clean, food-grade filter as the last material to touch your syrup.
You want to make sure the flavor is protected and no harmful chemicals are introduced.
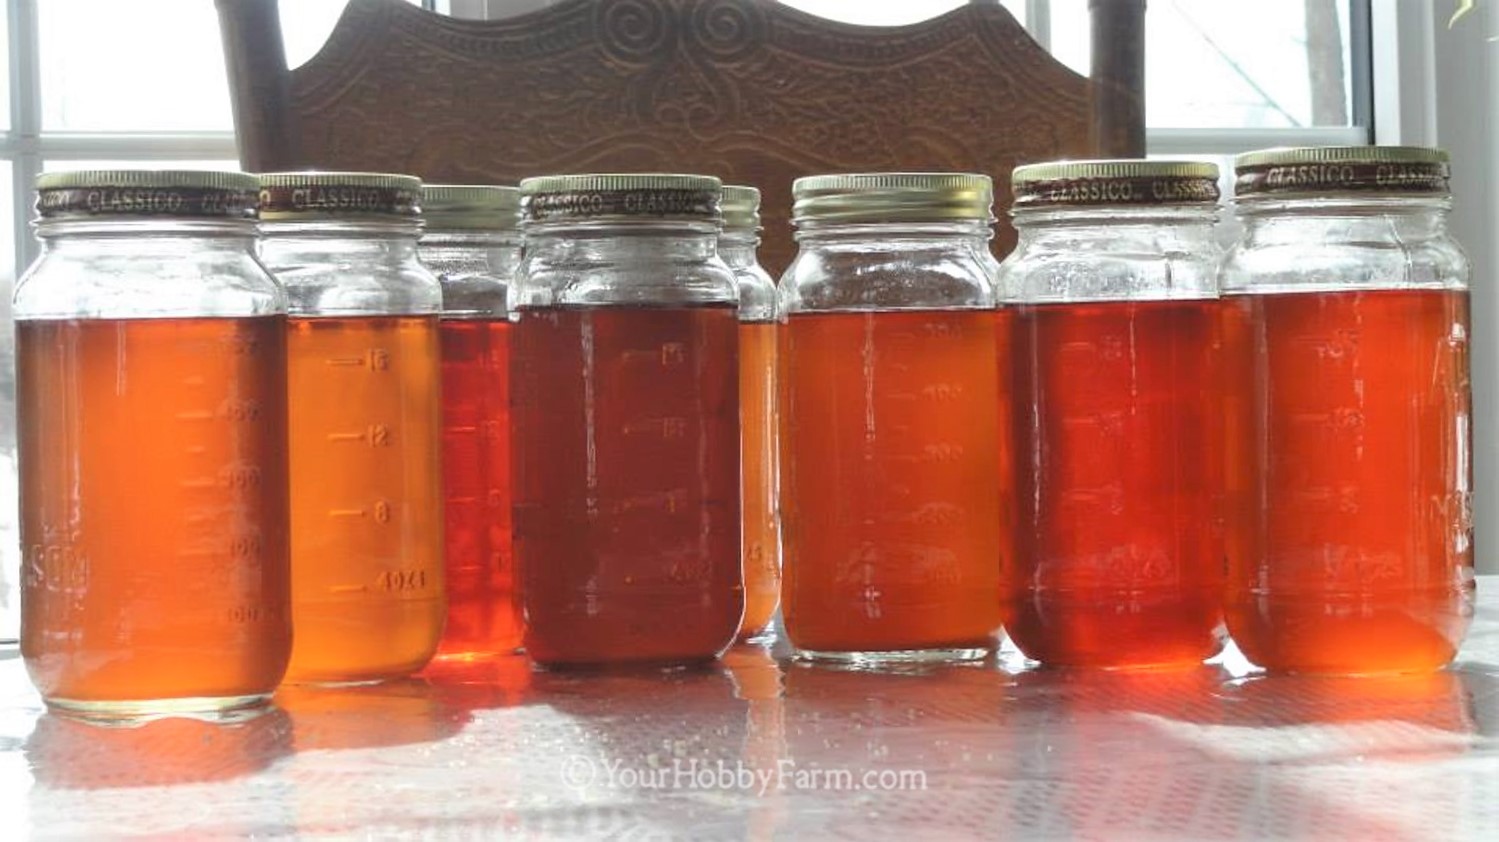
While still very hot, pour your finished maple syrup into your canning jars and seal on the lid. You have now finished harvesting your maple syrup and are ready to enjoy the sweet result of your labors!
Clean Up and Prep for Harvesting Maple Syrup Next Year
Clean-up is an important next step to make things ready for harvesting maple syrup the next year.
You'll need to go back out to your trees and remove all the spiles, buckets and lids from the maple trees. This allows the tap holes to heal.
The spiles, buckets and lids then need to be thoroughly cleaned with a bleach solution of 1 part bleach to 19 parts water, rinsed well with hot water, dried and put away in a clean place ready for next year.
Enjoying the Result of Harvesting Maple Syrup
Harvesting maple syrup can be a very rewarding family activity and a great experience to enjoy together. It takes teamwork and dedication, but in the end, everyone enjoys the fruit of their labors, a wonderful, smooth, natural sweetener that's healthy and nourishing.
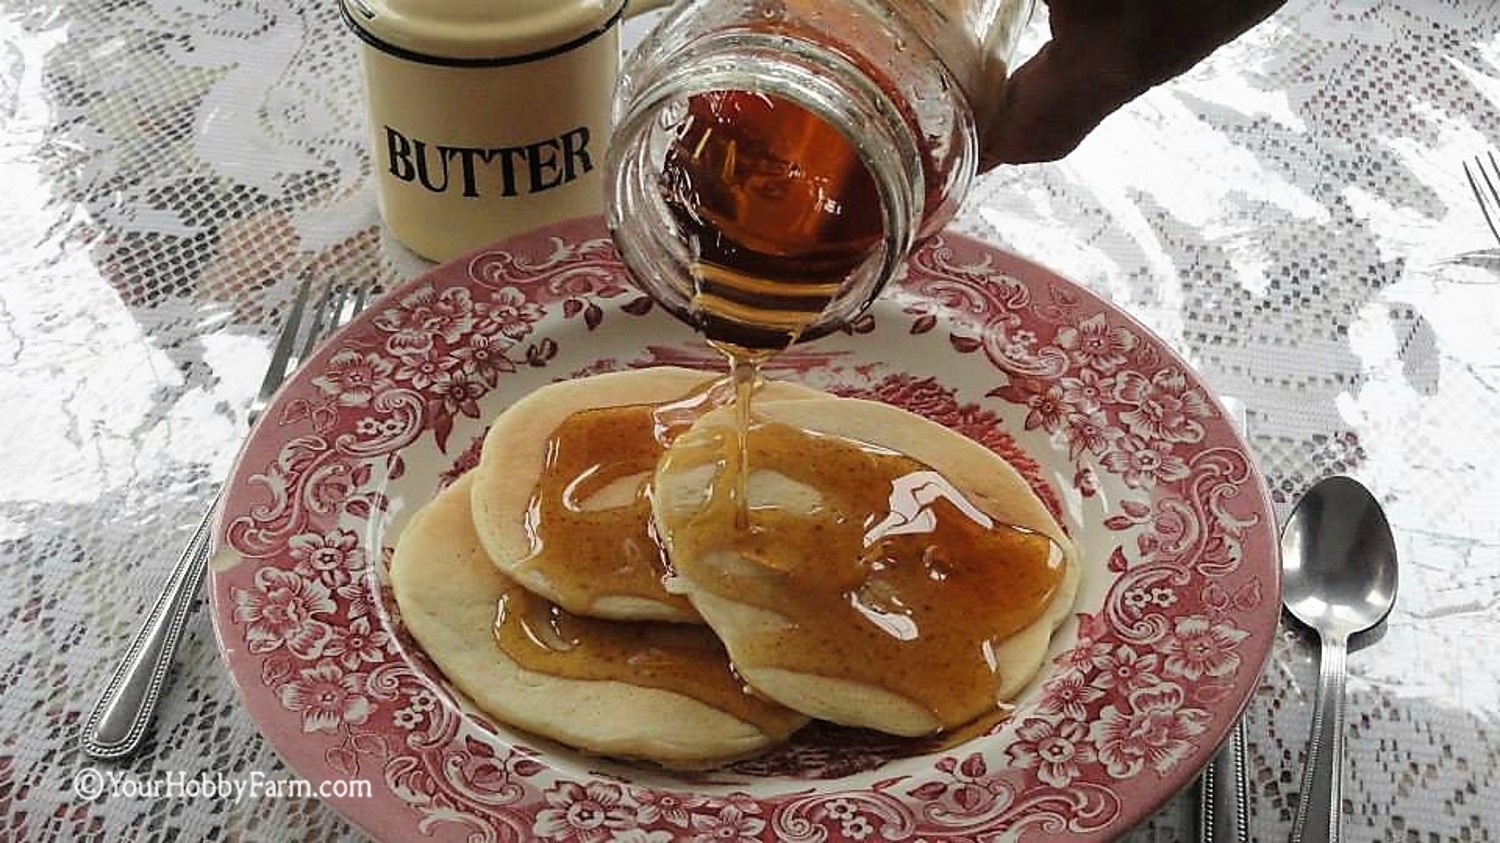
Maple syrup can be used in a variety of ways, enjoyed just as it is, or used in delicious recipes. From baked goods to beverages, from sauces, sweet or savory, to baked beans and marinating for meats. From making candies or candles, soaps or lotions, and more.
The golds and oranges of your finished product after harvesting maple syrup reflect the brilliant leaves that had fallen that fluttered to the ground the previous fall.
We've foraged sweetness from the maple trees. Now the time of harvesting maple syrup has come to a close as we're plunged into the emergence of spring. The swollen buds pop open and baby leaves unfurl... The world wakes all around us. We are grateful for such sweetness and beauty that God has provided for us to forage and enjoy season after season from the woods.

We'd Love to Hear About Your Maple Syrup Experiences
and Favorite Ways You Use It!
Have you made maple syrup or other maple products? Do you have maple syrup adventures or memories that you'd like to share? How about favorite recipes that you use with maple syrup? If so, we'd love to hear about it! Let us know in the form below, and please share your pix! It's fun to learn from one another!
Just click into the title box below and go from there. Be as wordy and descriptive as you want! Don't be shy about sharing maple syrup knowledge, your experiences, or things you've learned... There's plenty of room for your story on our website. And don't forget to share photos!
Then when published, you can share your story and pictures with your friends through 'your page' here on YourHobbyFarm.com!
Translate This Page!
Traduire Cette Page!
¡Traduzca Esta Pagina!


Piping Rock©
Bringing you the highest quality In hundreds of health care and life-enhancing natural products at the
lowest cost to you!
high reviews, crazy deals,
happy, healthy customers!
Click here and save today!
Business Appreciation
* This website is not affiliated with
Piping Rock

Supporting our local feed mills
Meunerie Alexandria Milling
613-525-1973
Great Products • Great Prices
Great Service
Click the pic for their
facebook page!
Meunerie Alexandria Milling
Established in 1962 by The Massie Family
Email: Alexandriamilling@hotmail.Ca
475 Massie Crescent
Alexandria, Ontario, Canada
~~~
Small Business Appreciation
* This website is not affiliated with
Meunerie Alexandria Milling

