How to Make Perfect Biscuits
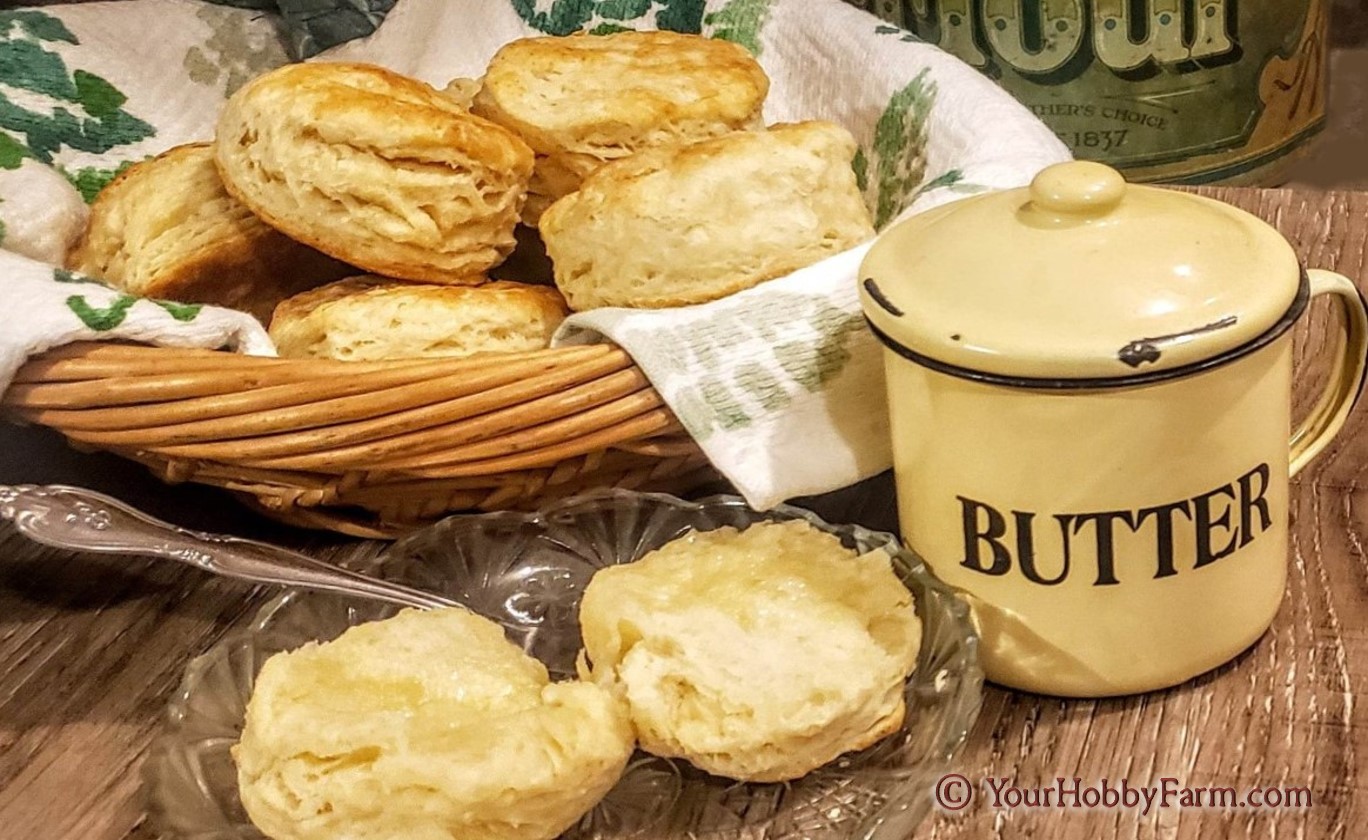
Hard and heavy vs. tall, tender, and flaky... Wondering how to make perfect biscuits? Since some have asked, we’re offering some tips and tricks, and share a secret or two from Grandma that will result in extra flaky, buttery goodness that will melt in your mouth when you bite into them. Let's bake biscuits!

What are some of the characteristics that biscuit lovers are looking for? Tall, light, flaky, tender, and buttery... these are all part of the satisfying balance and layered complexities of the iconic American quick bread that we call biscuits.
Even how the flours, fats, liquids, and leavening are combined plays key roles in the tenderness, flakiness, and fluffiness of the final product.
While this, at first glance, may appear complicated, it's really not difficult. And applying these tips and tricks will help you to achieve satisfying results. You'll be proud of your handiwork, and you'll love knowing how to make perfect biscuits!
Wondering how To Make Perfect Biscuits?
Here Are a Few Simple Tips & Tricks
Here is a summary of how to make perfect biscuits. You can click these links to take you to each tip. While these have been divided into 10 separate tips, practicing them all together will result in biscuits that you'll be proud of!
- Ingredients Need to Be Fresh
- Very Cold Ingredients are a Must
- Measuring Ingredients Accurately
- Be Gentle With Your Biscuit Dough
- Lamination: Grandma's Secret for How to Make Perfect Biscuits
- The Way They're Cut Effects Biscuits
- Arrange Biscuits Closely While Baking
- Bake Biscuits in A Hot Oven
- How to Store Homemade Biscuits
- Freezing Biscuits: Before and After Baking Them
Tip #1: Make Sure All the Ingredients are Fresh
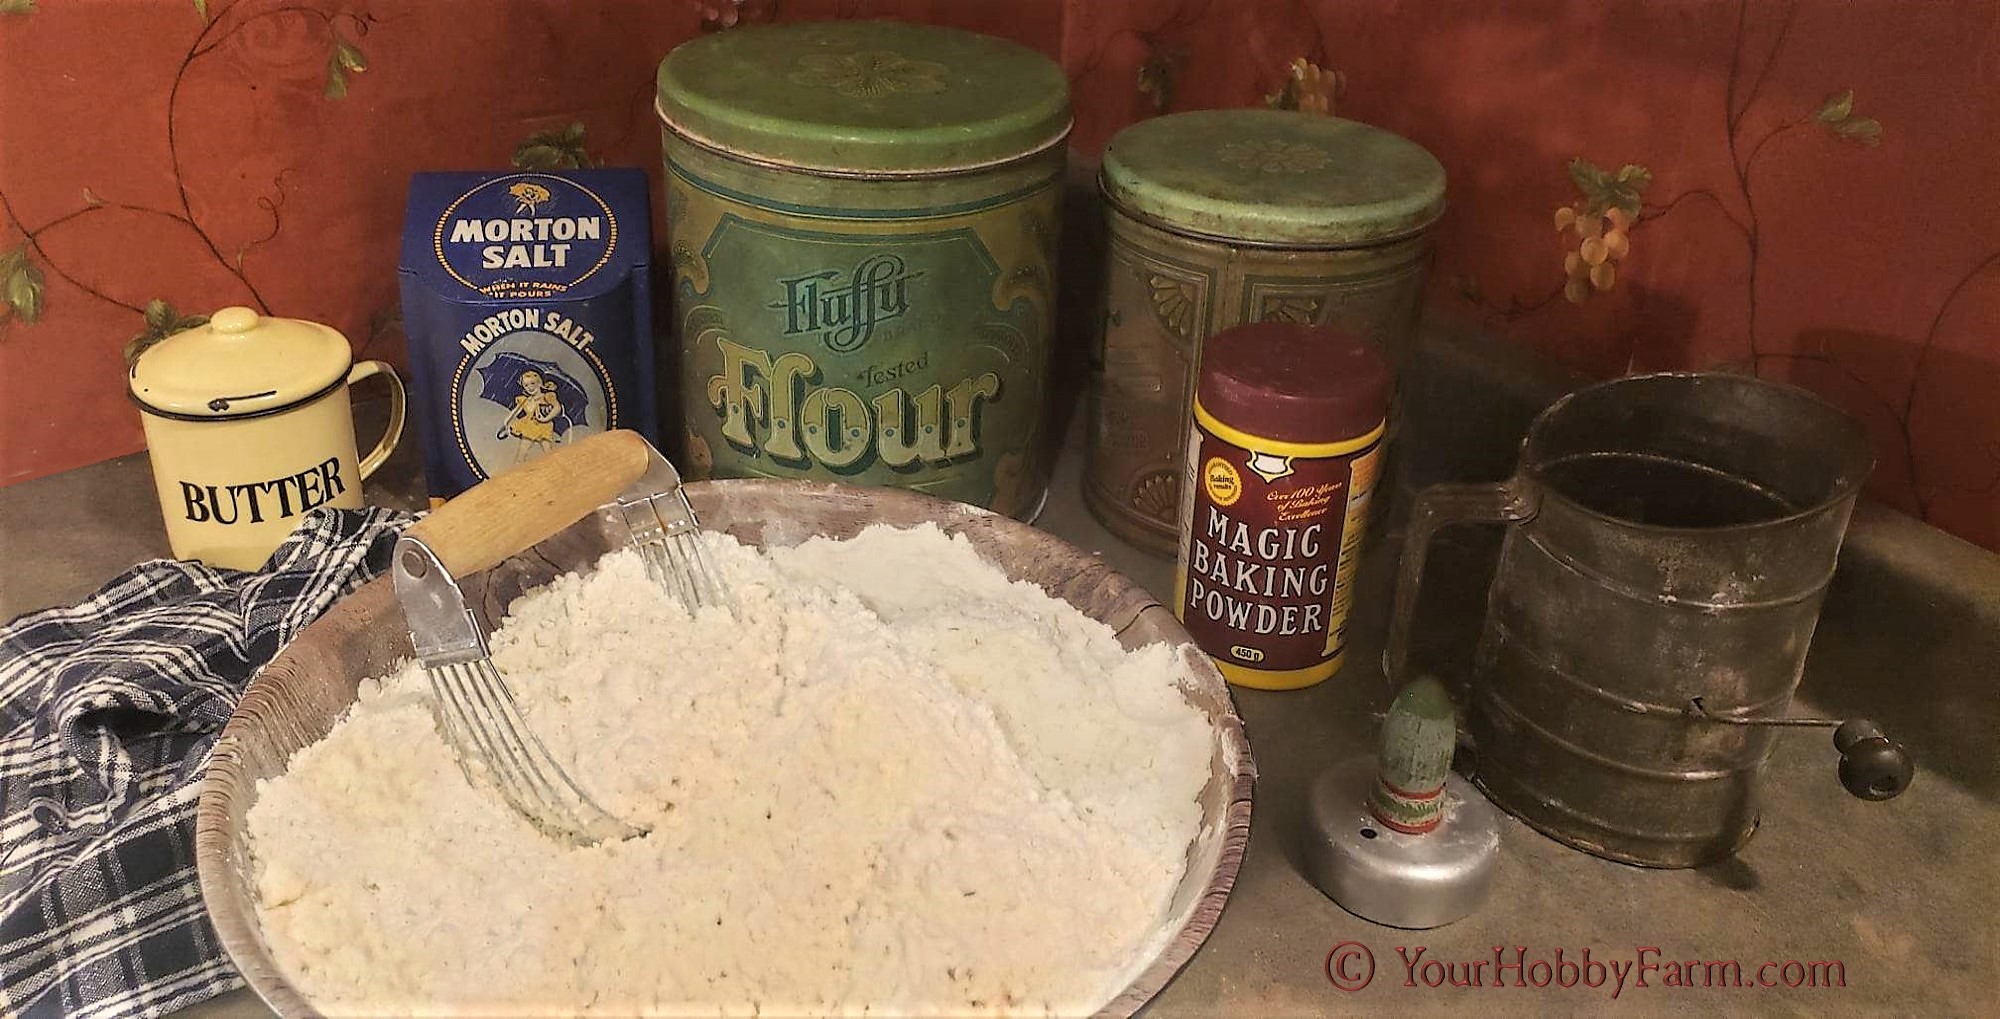
When learning how to make perfect biscuits, the first important tip is to make sure that your ingredients are fresh. How do you check for freshness? Let's look at ingredients that are used in most biscuit recipes.
Checking Freshness of Ingredients that are Typically Used in Biscuits
Baking Powder: Here's how to check baking powder for freshness to see if it's still active: Put some hot water into a cup or small bowl with a half teaspoon of the baking powder. If it's very bubbly, the baking powder is still good. If it's not bubbly, it's time to buy a new can.
Baking Soda: Can baking soda go bad? Yes, it can. Here's how to test baking soda for freshness. Fresh baking soda produces bubbles when mixed with an acid. Place a couple of tablespoons of vinegar in a small dish. Stir in about a teaspoon of baking soda. If the mixture immediately begins to fizz, you'll know that the soda is still active. If there's little or no reaction, it's no longer good.
Flour: The best way to determine whether your flour is still good is to smell it. While fresh flour has a neutral odor. But flour can become stale, rancid, musty, or even moldy. If it smells unpleasant, discard it. Also, use your eyes. If you see discoloration, clumps, mold, or flour mites and weevils, it's definitely time to buy fresh flour. Instead of just tossing it, here are other uses for your old flour.
Salt: can salt go bad? Rarely, but it's possible. If it's old, check for clumping or an off odor. The best way to store salt is in an airtight container in a cool, dry, dark place.
Fats: Fats and oils are no longer fresh if their smell or taste is "off", bitter, sour, or simply unpleasant. This is an indication that it has turned rancid, which if used, will negatively affect the taste of foods they are used in. Rancid oil is also bad for our health.
Some have asked how long is butter good for. The same question is asked regarding shortening, lard, tallow, and other oils used in baking. That depends on the type of fat it is, how it has been stored, and for how long. Butter, for example, will keep in the refrigerator for at least 2 to 3 months in the fridge and up to a year or more in the freezer.
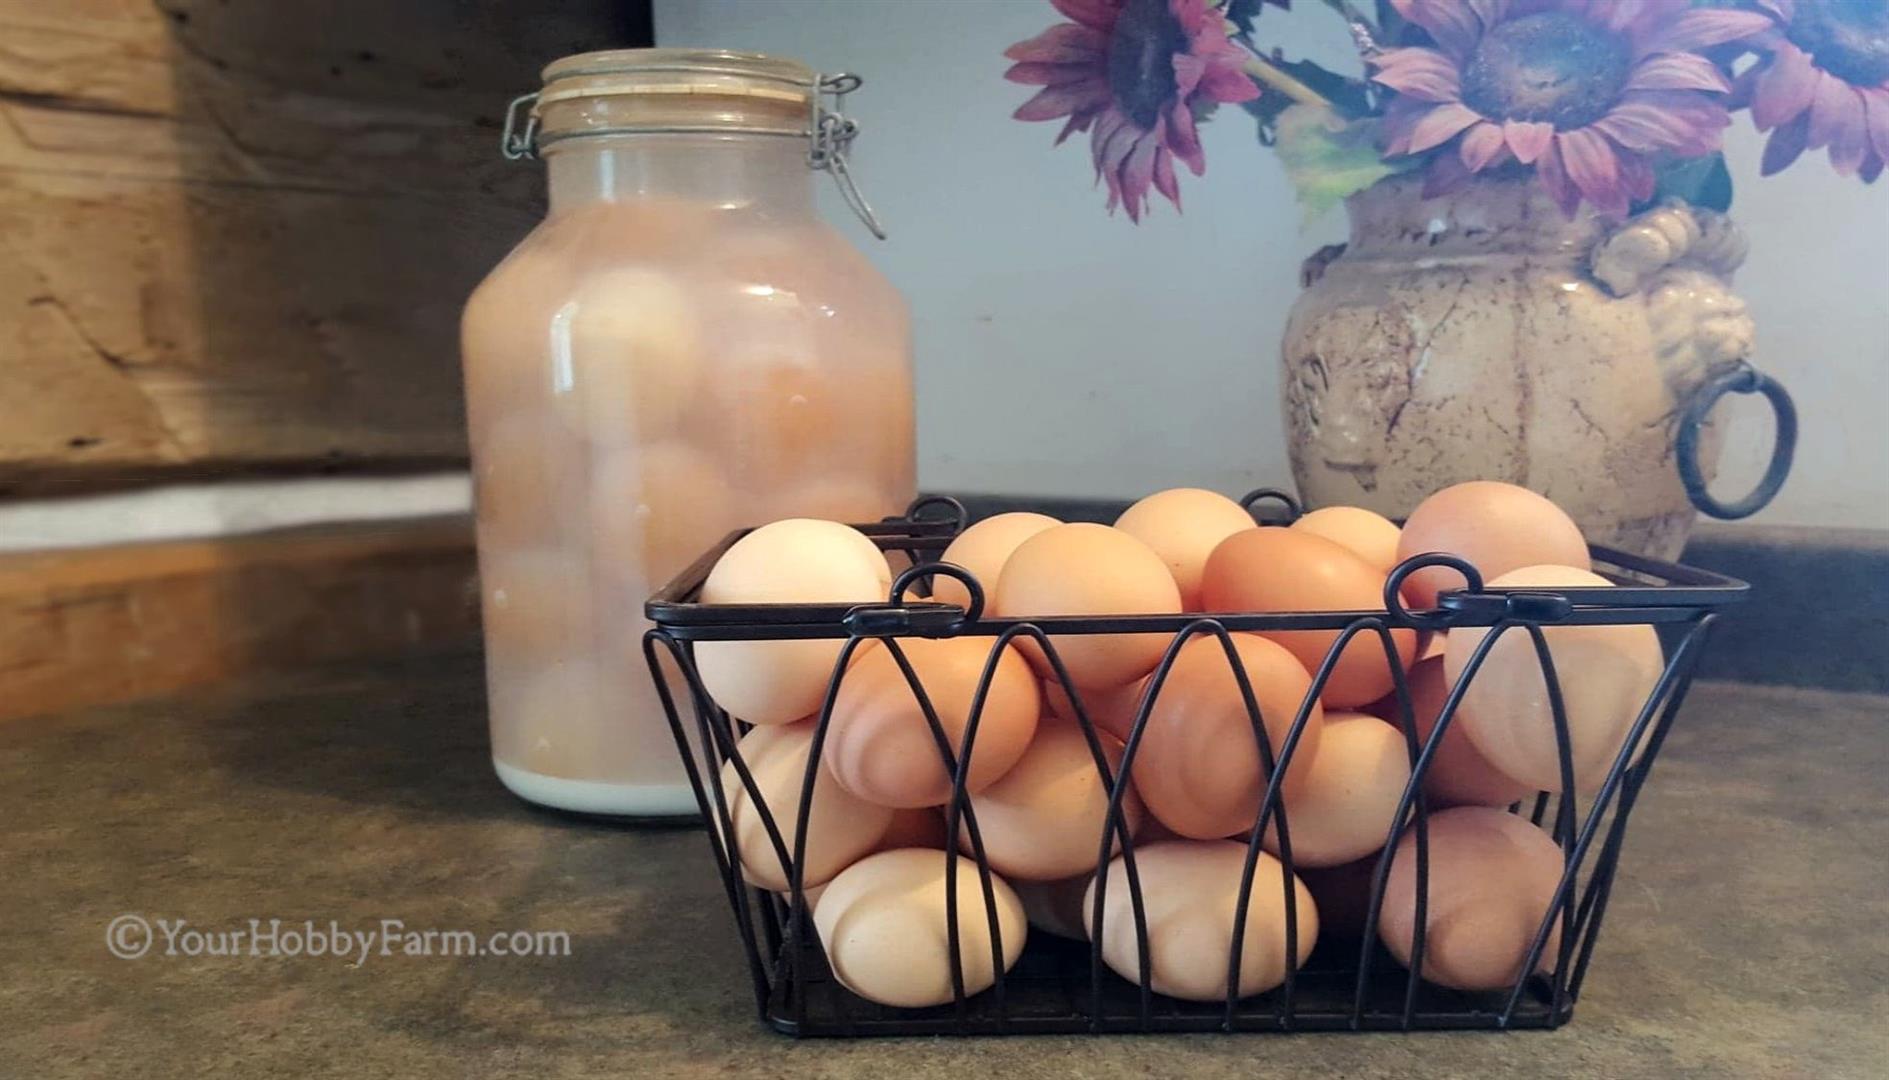
Buttermilk, Milk, or Milk Substitute: Freshness of your liquid ingredients is very important as well. Check your "best before" date. Give it a smell or a little taste if you're not sure. After it's opened, buttermilk can last up to 14 days in the fridge and slightly longer than its expiration date if it's still unopened. Buttermilk can also be frozen, either opened or unopened, in an airtight container for up to 3 months.
Tip #2: Very Cold Ingredients are a Must when Making Biscuits!
Use very cold ingredients definitely help to achieve flaky, layered biscuits.
Biscuits get their tender crumb and luscious layers from the suspension of fat in the flour. To achieve those separate layers that we all strive for in biscuits, we need to start with very cold fats, usually butter, lard, or shortening. Being cold, it will create more layers and pockets as it melts in the oven.

Many recipes call for cold butter cut into small pieces. However, we've found it very helpful to keep some butter in the freezer and grate the amount needed into the dry ingredients when making biscuits.
This ensures that your butter is both very cold, and also evenly dispersed and incorporated well into your dry ingredients. If the butter is too warm it will simply blend into the dry ingredients and those coveted layers formed by the steam and pockets of butter will be minimized.

After you've combined your butter and dry ingredients together, put the bowl back in the refrigerator for at least 10 minutes to make sure the butter stays cold, ensuring that the butter does not soften before placing the biscuits in the oven.
You can even place your buttermilk, milk or milk substitute into the freezer for a little while to make sure it's really cold.
Since even the heat of your hands can soften the butter, consider using the flat side of a metal bench scraper to press the dough together or a rolling pin to roll it out.
And Speaking of Cold Ingredients...
This not only refers to your butter and liquid ingredients, but to your dry ingredients as well!

We find that the easiest way to do this is to whip up a batch of our Homemade Bisquick Mix recipe and store it in the freezer! This recipe includes both ingredients and the butter together.
Keeping your Homemade Bisquick Mix in the freezer not only ensures its freshness, but also answers to the need for cold ingredients when making biscuits!
Your buttermilk, milk, or milk substitute needs to be cold as well. You can achieve this by putting your measured milk in the freezer for just a bit before combining it with your cold dry ingredients.
For quick and easy homemade biscuits that turn out flakey and tender, you can follow our recipe here for the Our Best Bisquick Biscuits!
Tip #3: Measure Ingredients Accurately
It may sound simplistic, but a key to beautiful biscuits is to measure the ingredients carefully.
Different ways of measuring don't always result in the same amount. So, the way you measure your ingredients is important as well.

Gently spoon and level when measuring your dry ingredients instead of scoop and dump. If you dip your measuring cup in and scoop it full, you'll have more than the recipe calls for. This will result in drier, tougher biscuits.
Here's how to measure your dry ingredients accurately: first, give your dry ingredient a quick stir in its container to fluff it up. Then, using a large spoon, gently fill the measuring cup without shaking or packing the ingredient. Next, with a straight edge, level off the excess into a bowl or back into the container.
Making sure your dry ingredients are accurately measured is another tip on how to make perfect biscuits that are light and fluffy.
Place your cold, dry ingredients into a mixing bowl. Next, add the milk or buttermilk slowly, a little at a time, gently stirring with a fork as you incorporate the dry ingredients into the wet, your dough will begin to form.
Tip #4: Biscuits Respond Well to Gentleness!
A gentle touch is a major contributor to producing tender biscuits. Interestingly, biscuits are not unique when it comes to responding positively to gentleness. Most human hearts flourish when treated gently as well...

Back to the biscuits... Handling your biscuit dough as you would bread dough isn't how to make perfect biscuits. Unlike yeast doughs, biscuits do not need to be kneaded!
Overworking your biscuit dough results on hard, tough biscuits. To achieve tender, flaky biscuits, simply gently pressing and folding takes the place of kneading.
And on the other hand, if you don't mix your biscuit dough enough, your biscuits will have a floury, uneven texture.
...Continue with A Gentle touch with The Dough
A major reason for using a gentle touch while stirring and mixing is that every time you knead and fold the dough, you're developing the gluten. The more you develop gluten, your biscuits will become tougher and more prone to shrinking.

While pressing and folding your cold
biscuit dough, it is sometimes suggested to use limited contact with your
hands. This is because it’s possible that warmth of your hands can soften the
fat in the biscuit dough.
We find that using the broad, flat side of a stainless steel dough scraper to help with folding and pressing the dough works well.
The dough may appear to be on the dry side, but don't worry. As you fold and press the dough together, the dry ingredients will continue to hydrate.
After 4-5 times repeating the process of pressing and folding the dough together, form it into a rectangle approximately 1/2 to 3/4 inch thick.
You may still see chunks of butter and floury spots, and that's a good sign. A smooth, homogeneous dough is not what you want.
Finding that happy medium of sufficiently combined ingredients, working it gently, while not overhandling the dough, will help to avoid serving 'white hockey pucks', as the kids would say.
Now's the time for one of Grandma's secrets...!
Tip #5: One of Grandma's Secret for How to Make Perfect Biscuits:
She Laminated Her Biscuit Dough
Grandma’s biscuits were the best! They were always so flakey, tender, full of buttery layers. How did she do that?

Well, Grandma let the cat out of the bag, as she’d say! Here’s her secret: she laminated her biscuit dough.
If you’re wondering what in the world is laminated dough, you’re not alone!
Laminating is an easy baking technique in which you fold or layer the dough several times, creating layers. Here’s how she did it:
First, you begin by rolling out your biscuit dough into a rectangle. Then fold the dough into a z-fold. What is a z-fold? Think of folding a piece of paper to fit into an envelope, folding it into thirds. Or you can use a gatefold. Both methods end up in a long, narrow strip of stacked dough.
Another of Grandma's Secret: More Butter Makes It Better!
And to make it even better, Grandma rubbed a very light layer of softened butter between each layer.
Repeat this process 3 or 4 times. Then, gently, roll or pat out to dough into a larger rectangle again, about ½ to ¾ inches thick, and you’re ready to cut your biscuits!
It's really quite easy! And, even if it might take a couple of attempts to master this technique perfectly, you’ll end up with lavishly layered biscuits each time!
And this, friends, is how to make laminated dough which is one of Grandma’s secrets for how to make perfect biscuits every time!
Tip #6: Time to Cut Your Biscuit Dough
Once you've laminated and rolled out your dough, it's time to cut your biscuits.
First, make sure that the edge of your biscuit cutting tool is sharp. Don't use a drinking glass, jar, or other thick-edged, closed top cutter. The blunt edge and lack of air flow at the top will squash down and compress the edges of your cut biscuit. The disturbed, squashed, ragged edges left by a blunt cutter will hinder your biscuits from being as flaky, rising as high as you'd like, or cause the dough to rise unevenly.
Also, it's very common to give the cutter a flick of the wrist when cutting out the biscuits. But it's best not to twist the cutter as you cut the dough. Instead, just press straight down. Twisting can also damage or seal the edges of the cut biscuit dough, preventing you from getting those tall, super-flakey sides that you're trying to achieve.

What shape to cut your biscuit dough? Circles, squares, triangles, or other?
Probably the most common is using a circular cutter for round biscuits.
If using a biscuit cutter, dip the cutter in flour, press it straight down into the dough, then lift, never twist to make the cut.
While round biscuits are classic, a downside to cutting your biscuits into circles is you're left with the scraps of dough from between the circles which will need to be pressed together again, and recut...
Square biscuits are a great option. Just shape your dough into a large, tidy-edged rectangle or square. Using a sharp knife or bench scraper, cut your dough into squares. This method leaves no scraps of dough to rework.
You can also shape your dough into a circle as you'd do for scones, and cut your dough into wedges as you would cut a pie.
Or, you can certainly choose to be creative! How about using a heart-shaped cookie cutter or other fun designs?
Actually, when cutting your biscuits, the shape you choose doesn't really matter, but the instrument used and your technique does.
Tip #7: Arrange Them Closely:
They'll Support Each Other as They Rise
Now gently pop your cut biscuits into a preheated pan that had been given a light coating of butter. We like to use a cast iron skillet, but any baking pan or sheet would work fine.

Arrange the biscuits close to each other, touching is fine. Sometimes recipes will instruct you to place what you're baking far enough away from each other so they won't touch. Not so with biscuits:
By placing them close to one another, even touching, they can support each other and help to push each other up. Nestled together, they help each other in rising instead of spreading outward.
Place the biscuits in a pan greased with butter. They should slightly be touching each other, as this helps them rise in the oven.
Now, Let's Bake Our Biscuits!
Tip #8: Bake Biscuits in A Hot Oven
At this point, both your oven and buttered pan or baking sheet should already be preheated and ready for baking. How hot is hot? We're talking 425°F (218°C) - 500°F (260°C), depending on what your oven's capability. If necessary, after cutting them, put your cut biscuits on a plate in the fringe while your oven and buttered pan reaches the necessary heat. Then, carefully arrange your biscuits in the hot pan and pop them into the oven.
Biscuits need a hot oven to rise nice and tall. Why bake biscuits in such a hot oven? The high heat, minimum of 425°F (218°C) causes the water in the butter and buttermilk to heat up rapidly, creating steam which pushes the dough upward. If the oven temperature is not high enough, your biscuits won't become steamy inside. The butter or fat will simply melt into the other ingredients, creating heavier, fat-laden biscuits.
How long to bake biscuits? If you're baking them 425°F (218°C), for about 18 to 20 minutes or until lightly golden brown. At 450°F (232°C) to 475°F (246°C) about 12 to 15 minutes. And at 500°F (260°C) for about 10 minutes, or until golden brown on top.
Tip #9: How to Store Homemade Biscuits
If you've made more biscuits than you'll be using, once they are completely cooled, the best way to store biscuits is in an airtight container at room temperature. They'll be fine for 2 to 3 days.
Biscuits can also be kept for a week in an airtight container in the fridge. Making sure that they're well covered keeps them from drying out. And you can put an absorbent cloth or paper towel in the bottom of the container to absorb any moisture build up.
To reheat the biscuits, simply place the biscuits back in a 350 F oven for 10 to 15 minutes, or until they're warm and crisped up again. Or you can simply cut them in half and pop them in the toaster.
Tip #10: And a Bonus Time-saving Secret from Grandma!
You Can Freeze Biscuits, Before or After Baking Them
And one final time saving-tip from Grandma: Some have asked her; can you freeze homemade biscuits?

Her answer: Yes, you can freeze biscuits! They turn out beautifully and will save you time when you need some hot biscuits quickly!
And, can you freeze biscuit dough? Yes, Grandma did that as well! Here's how to freeze biscuit dough: Make your biscuits as usual, laminate the dough, roll out, and cut them. Arrange them, single layered, on a parchment lined cookie sheet and put them into the freezer.
They should be frozen in about an hour. Then, simply place your solid unbaked biscuits in a freezer bag or other airtight container. Don't forget to label your bag, and include the date if you find that helpful. They're good in the freezer for up to two months.
When you're ready to bake them, do not thaw first. They can go from the freezer to a buttered, preheated pan and immediately into your hot oven.
Review of Basic Tips and Tricks for
How to Make Perfect Biscuits
- Use fresh Ingredients! ...especially your Baking Powder and/or Baking Soda.
- Cold ingredients make flaky, high-rise biscuits.
- Measure Ingredients Accurately: Sift, spoon, and level, instead of dip and scoop.
- Gently pat, roll and fold the Biscuit Dough, do not kneed or Overwork Biscuit Dough
- Laminate your biscuit dough for beautiful, flaky layers.
- Spread a bit of additional butter between layers while laminating the biscuit dough.
- When cutting your biscuits, press straight down instead of twisting the Biscuit Cutter
- Bake biscuits close to each other. The support will help them to higher rising
- Preheat your oven, making sure it's hot before putting in the biscuits.
- Time-saver: make biscuits and freeze unbaked! In a pinch, freezer to oven works great!
The Proof is in the Biscuit
It's been said that the proof is in the pudding, but in this case, it's in the biscuits! Give these tips and tricks a try. Grandma would have been happy knowing that you now know how to make perfect biscuits!
You Might Also be Interested in These Related Pages
Homemade Bisquick Mix
Have you ever wondered how to make homemade Bisquick mix? Here's our simple, handy recipe for Bisquick as well as some recipe ideas and creative ways to use it.
Homemade Self Rising Flour
Here's how to make your own self-rising flour! Now, if you come across a yummy recipe using self rising flour, you'll have some, ready to use, in your pantry!
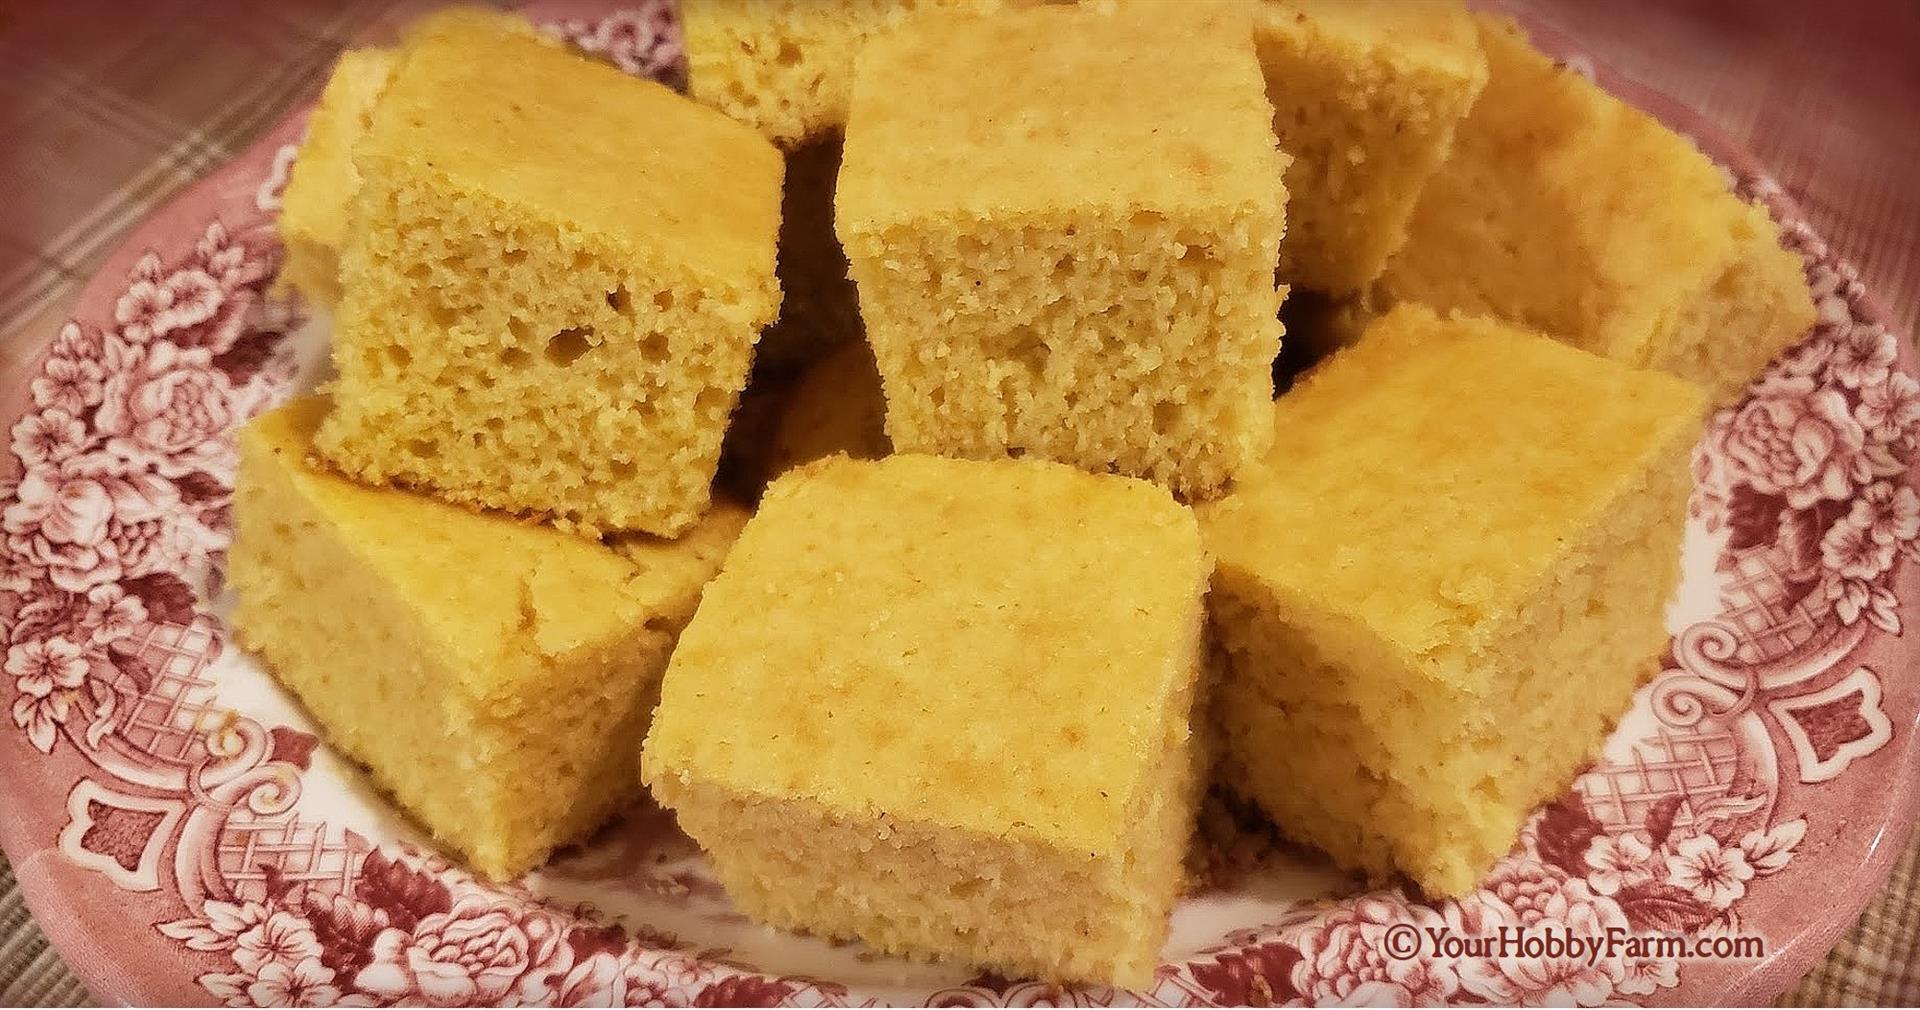
What to Add to Cornbread?
Have you ever wondered what to add to cornbread for extra spunk and yumminess? Here are a lot of inspiring, mouth-watering add-in ideas and combinations! Enjoy!
Delicious Moist Cornbread Recipe
Wanting to make some good old-fashioned cornbread? In our opinion, this is the best homemade cornbread recipe! It's moist, yummy, and a generational favorite.


For All Who
Live, Love, or Long for
Country Life
Your Hobby Farm Menu

Check out Our New Pages!
for Topics that You May Find Interesting...
Click on The Photos Below!


Translate This Page!
Traduire Cette Page!
¡Traduzca Esta Pagina!


Piping Rock©
Bringing you the highest quality In hundreds of health care and life-enhancing natural products at the
lowest cost to you!
high reviews, crazy deals,
happy, healthy customers!
Click here and save today!

Business Appreciation
* This website is not affiliated with
Piping Rock
Supporting our local feed mills
Meunerie Alexandria Milling
613-525-1973
Great Products • Great Prices
Great Service

Click the pic for their
facebook page!
Meunerie Alexandria Milling
Established in 1962 by The Massie Family
Email: Alexandriamilling@hotmail.Ca
475 Massie Crescent
Alexandria, Ontario, Canada
~~~
Small Business Appreciation
* This website is not affiliated with
Meunerie Alexandria Milling